
To-Do List Project With A Login System

Developer Name:
Keith Infantus Miguel Fernandes
Tech Used:
CSS: Tailwind CSS
Frontend: React
Backend: Express
Database: MongoDB
This project is used to record the tasks of a particular user. The user has to create an account using the registration page as shown in Fig 1. The user has to enter his username, email and his desired password to create an account. Upon successful creation of account the user will be redirected to the Login/Sign In page as shown in Fig 2 where the user has to provide his registered email and password to login.
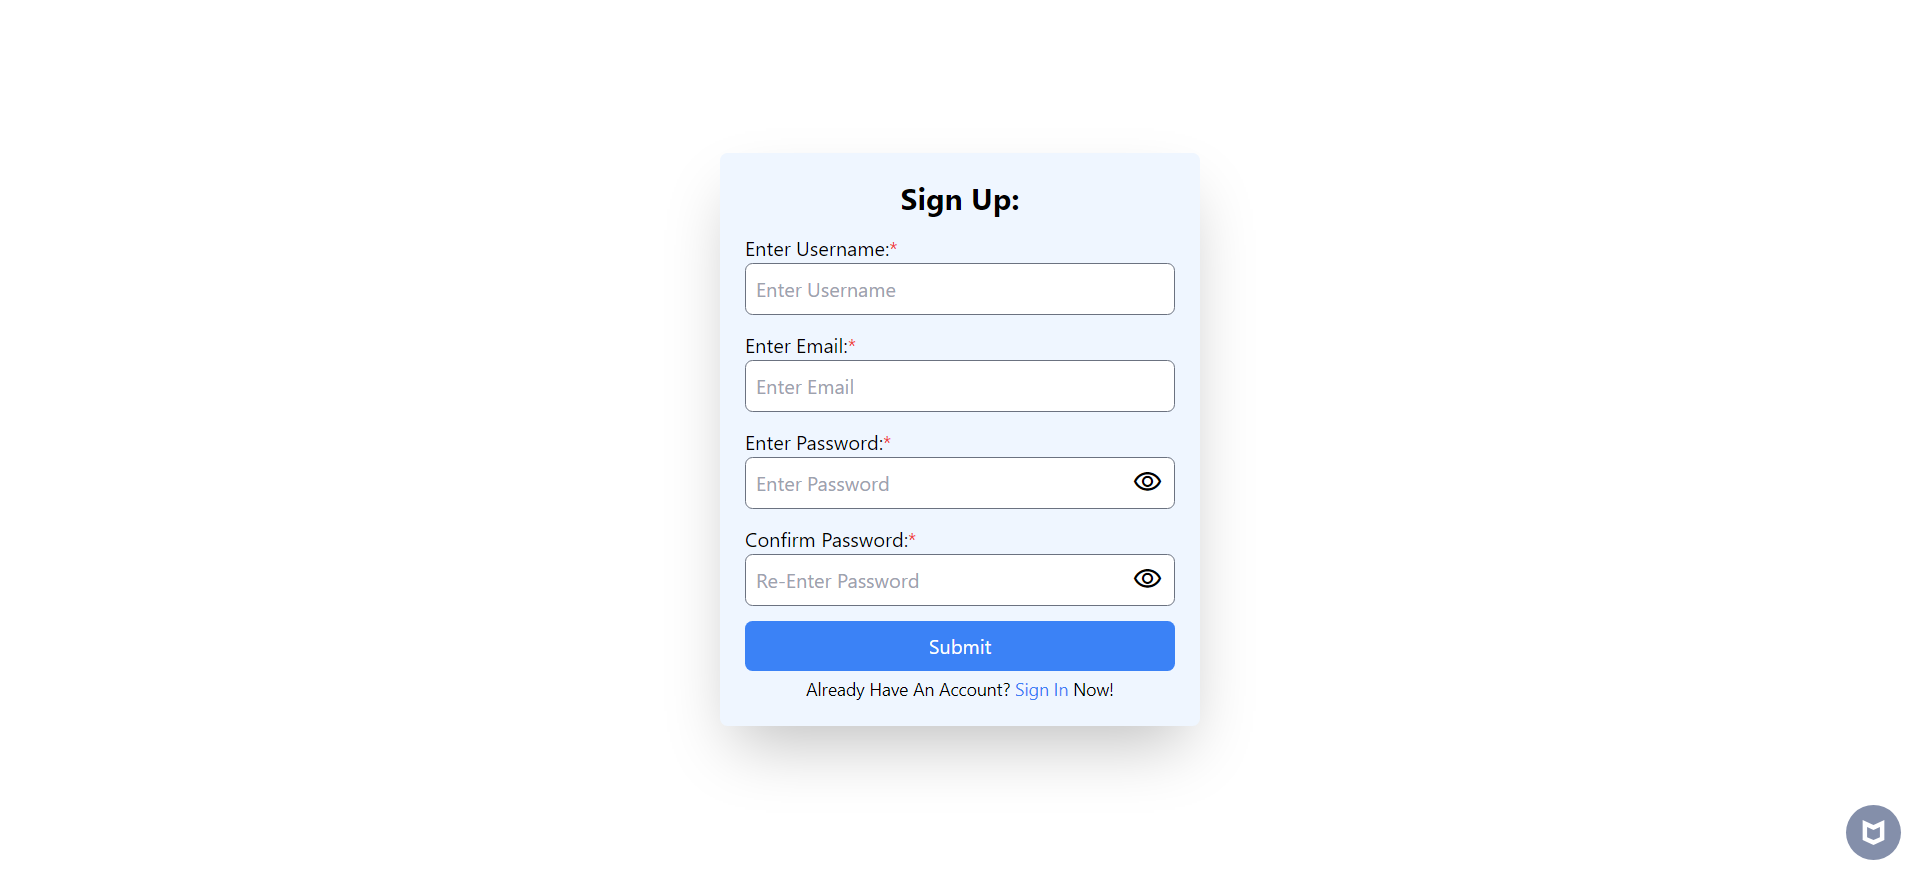
Fig 1: Sign Up Page
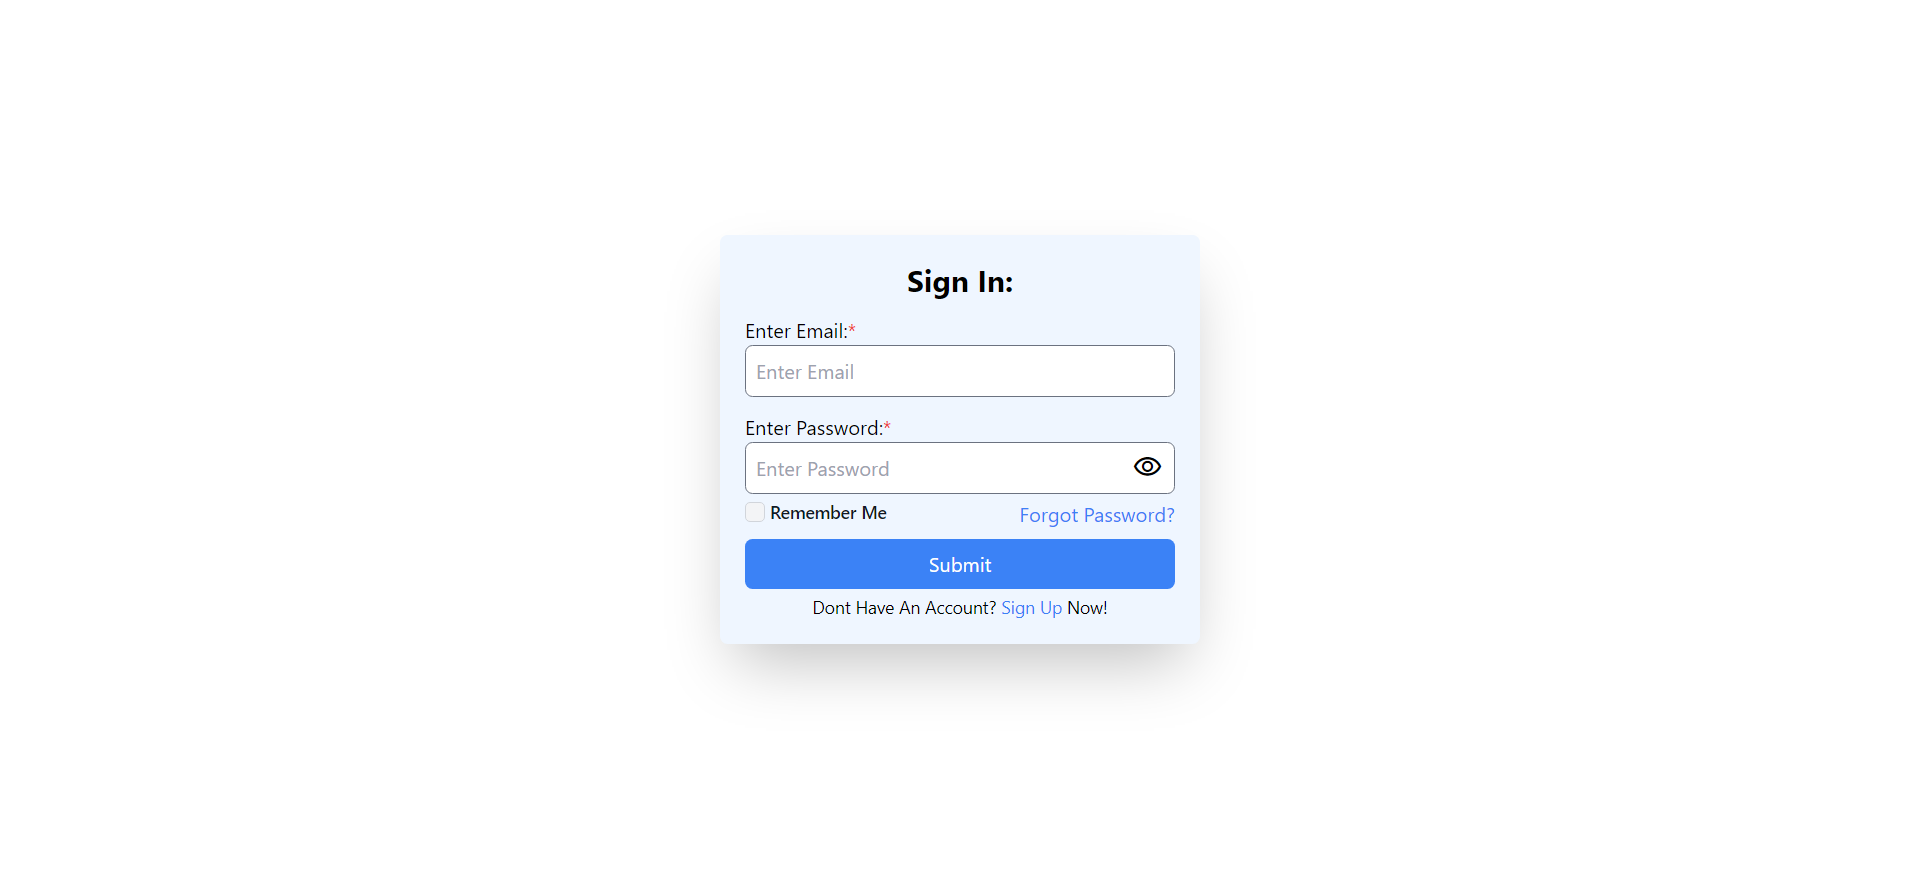
Fig 2: Sign In Page
Upon successful login the user will land on page where the user will view a list of all his tasks as shown in Fig 3 (if there are no task present then the user will see the message "No Data Found!"). In order to create a new Task the user must click the blue button on the top left corner of the page upon which a modal will appear as shown in Fig 4 where the user has to enter his task and submit.
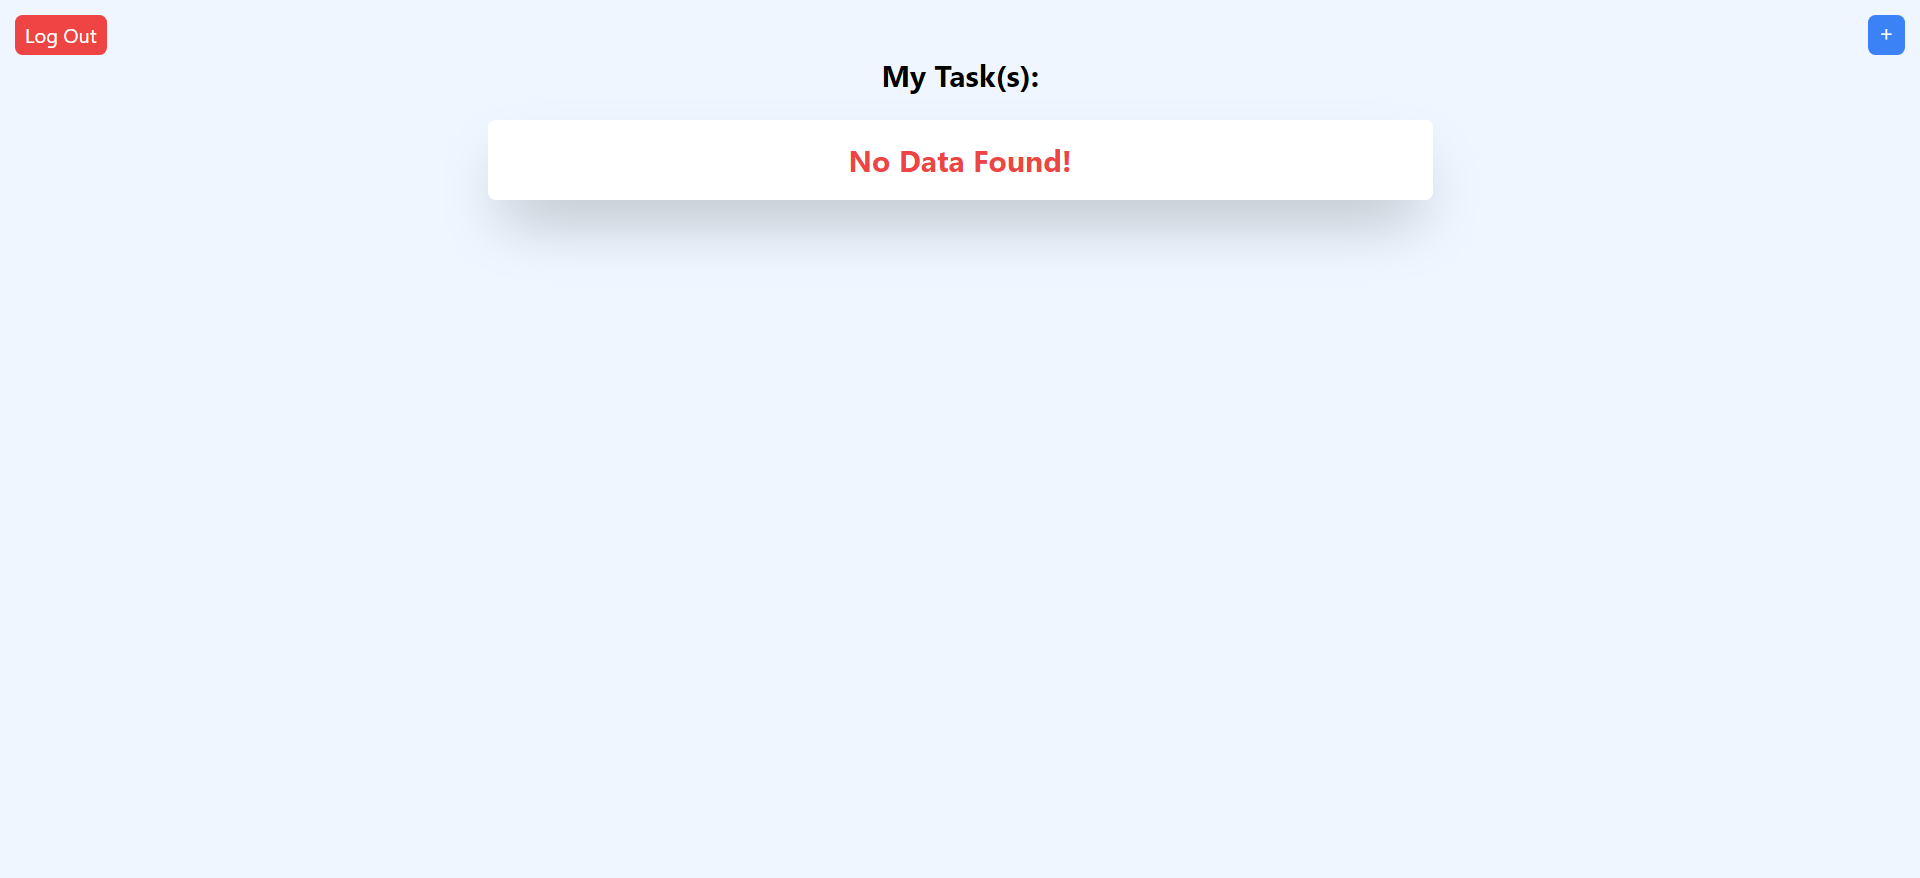
Fig 3: Task List Page
Backend Code to fetch a perticular user's tasks from the database is as shown below.
Code To Fetch User's Task From The Database:
exports.getTask = async (req, res) => {
    try {
        const userId = req.userId;
        const tasks = await Task.find({
            isActive: 1,
            isDeleted: 0,
            userId: userId
        });
        res.status(200).send({
            data: tasks,
            message: "Task Fetched Successfully!"
        });
    } catch (error) {
        res.status(500).send(error);
    }
};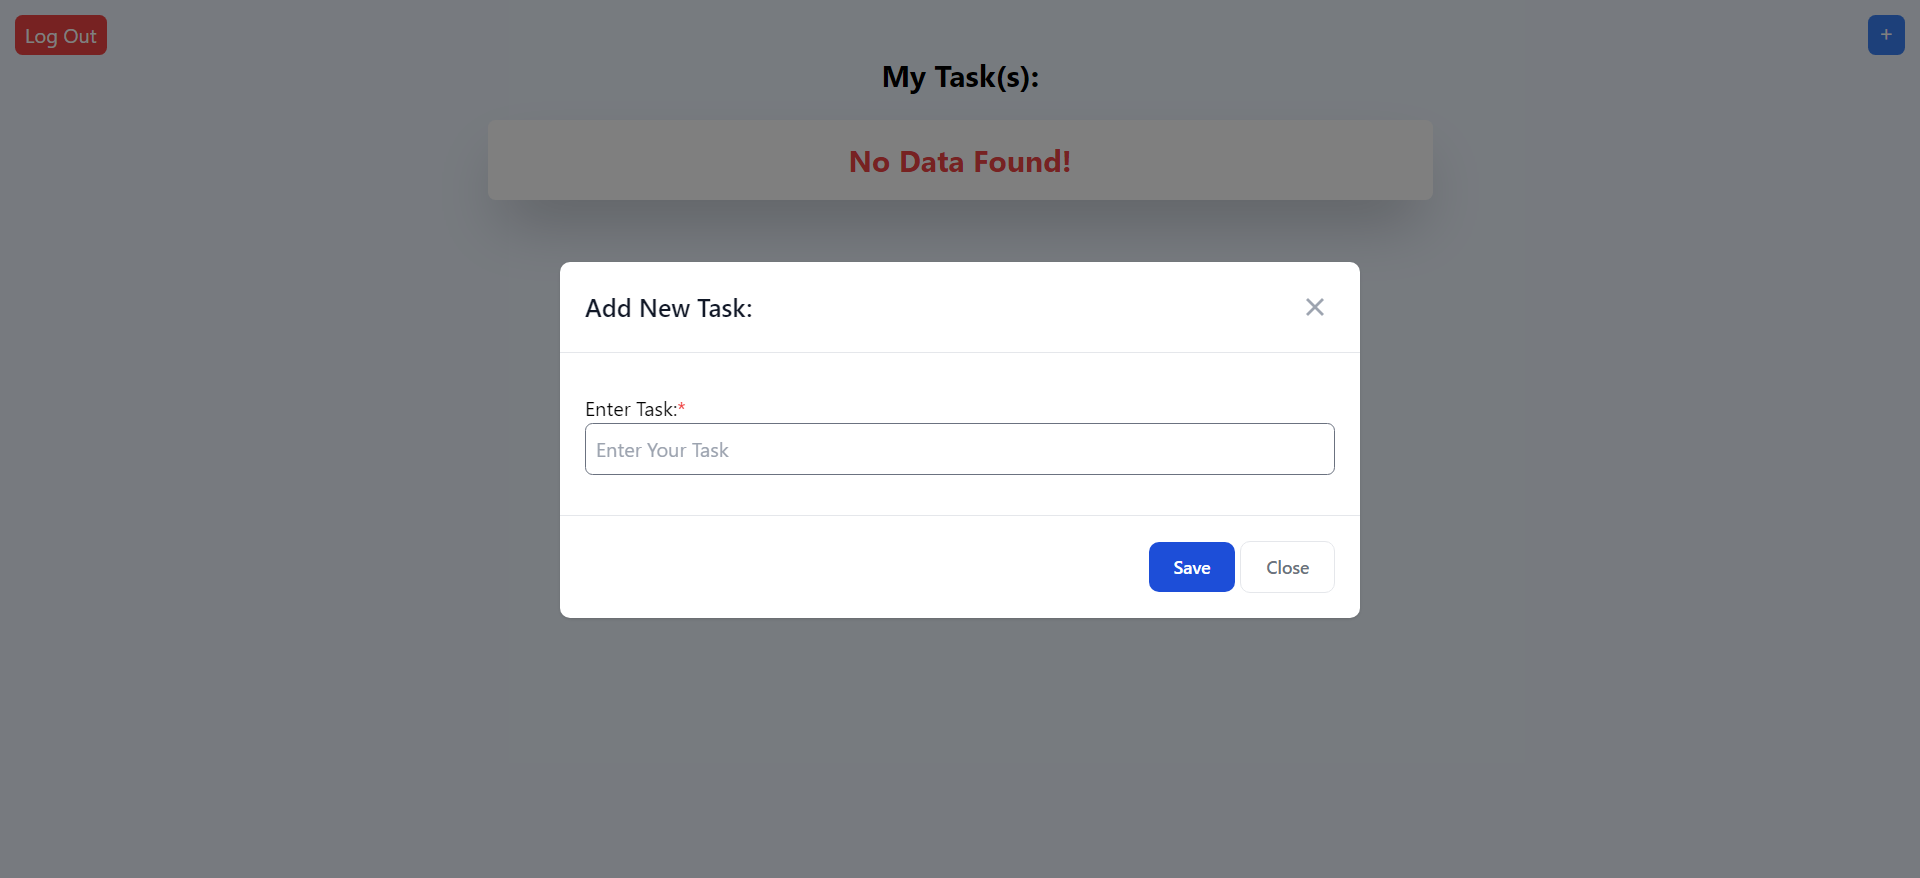
Fig 4: Add New Task Modal
Backend Code to save a perticular task is as shown below.
Code To Save The Task In The Database:
exports.saveTask = async (req, res) => {
    try {
        const userId = req.userId;

        const task = new Task;
        task.task = req.body.task;
        task.userId = userId;
        await task.save();

        res.status(201).send({
            message: "Task Saved Successfully!"
        });
    } catch (error) {
        res.status(400).send(error);
    }
}
Upon successful submission of the above said modal the new entered task will appear in the task list as shown in Fig 5 (The user may add as many tasks as he wants using the add button on the top right corner of the screen), the user then gets the ability to edit and delete the tasks using the blue and red buttons respectively against each task item as shown in the figure below.

Fig 5: List of Tasks Upon Successful Submission
The user must click the blue button to edit a particular task which will open a modal with the task data preloaded in the task field as shown in Fig 6. Upon submitting this modal the old task is overwritten by the user's updated task and is reflected in the task list page as shown in Fig 7.
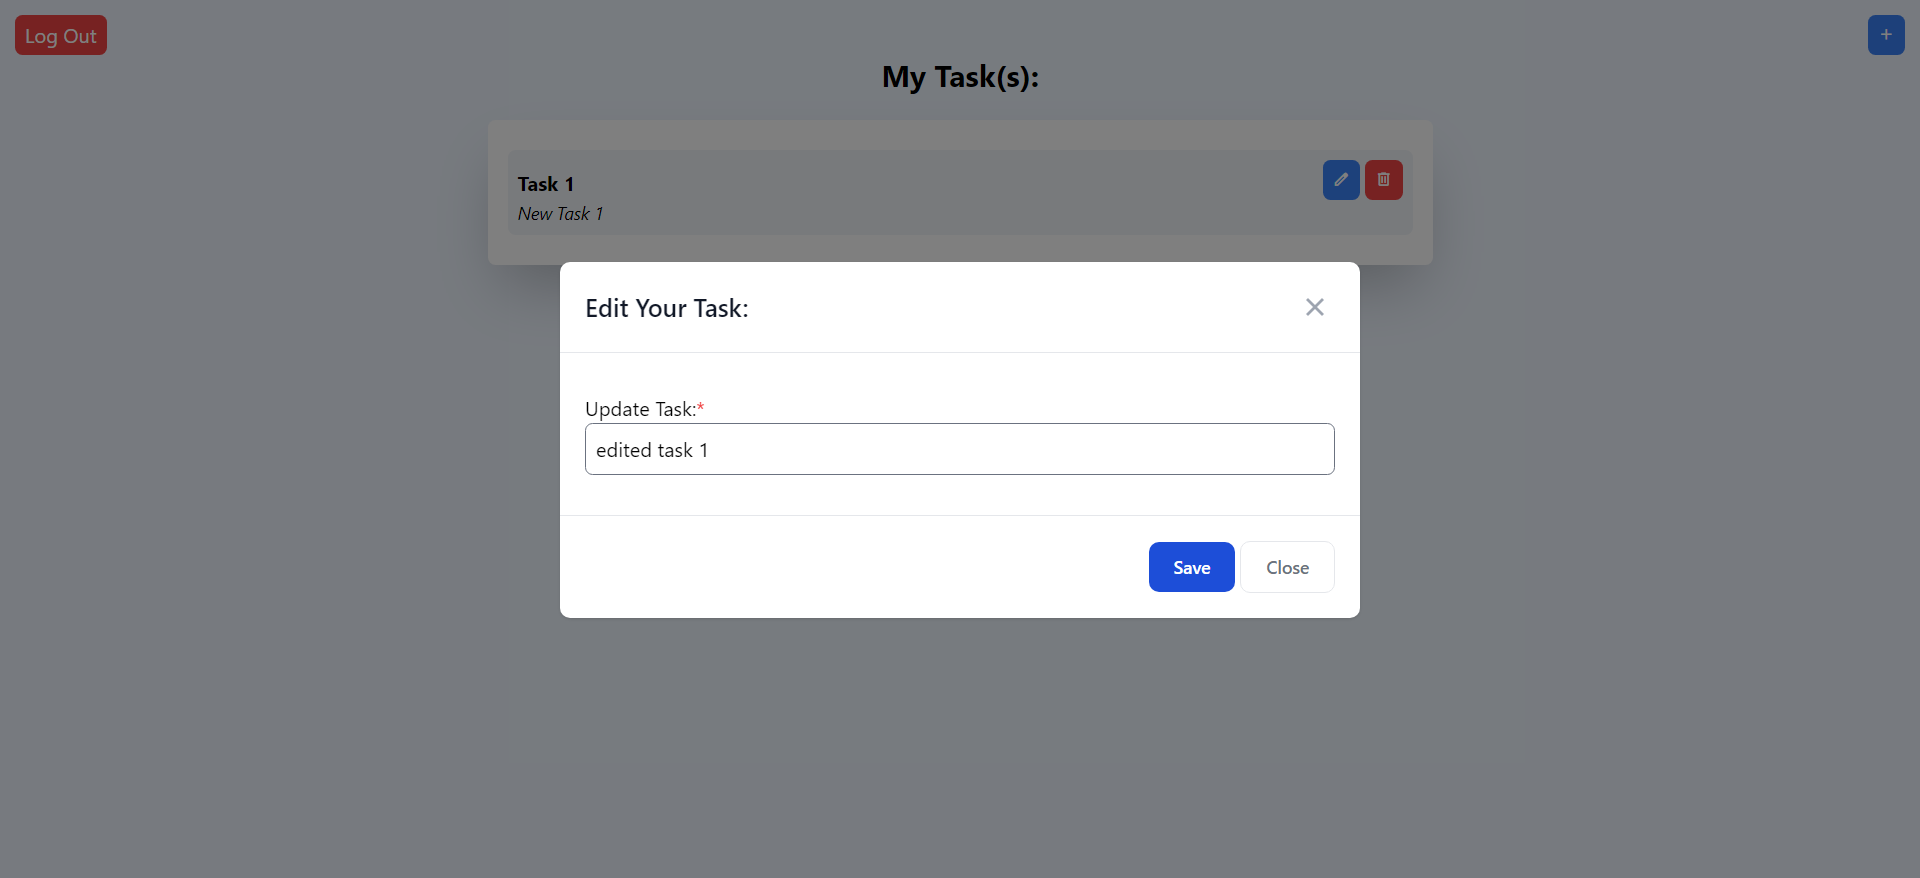
Fig 6: Preloaded Edit Task Modal
Backend Code to fetch a perticular task of the user is as follows.
Code To Fetch A Particular Task Of The User:
exports.editTask = async (req, res) => {
    try {
        const task = await Task.findById(req.body.taskId);
        if (task && task.isActive === "1" && task.isDeleted === "0") {
            const data = {
                task: task.task
            }

            res.status(200).send({
                data: data,
                message: "Task Fetched Successfully!"
            });
        }
        else {
            res.status(404).send({
                message: "Task Not Found!"
            });
        }
    } catch (error) {
        res.status(500).send(error);
    }
};
Backend Code to update user's perticular task is as follows.
Code To Update A Task Upon Submission:
exports.updateTask = async (req, res) => {
    try {
        const schema = Joi.object({
            taskId: Joi.required().messages({
                'any.required': 'Task ID is required.',
            }),
            task: Joi.required().messages({
                'any.required': 'Task is required.',
            })
        });

        const { error } = schema.validate(req.body, { abortEarly: false });

        if (error) {
            const errorMessages = error.details.map((detail) => detail.message);
            return res.status(422).send({
                error: errorMessages
            });
        }

        id = req.body.taskId;
        const task = await Task.findById(id);

        if (task) {
            task.task = req.body.task;
            await task.save();

            res.status(200).send({
                message: "Task Updated Successfully!"
            });
        }
        else {
            res.status(404).send({
                message: "Task Not Found!"
            });
        }
    } catch (error) {
        res.status(500).send(error);
    }
}
Fig 7: Updated Task List After Editing
The user has the ability to add as many tasks as required using the blue add button on the top-right corner of the page. Fig 8 shows an example of multiple data entry as shown below.
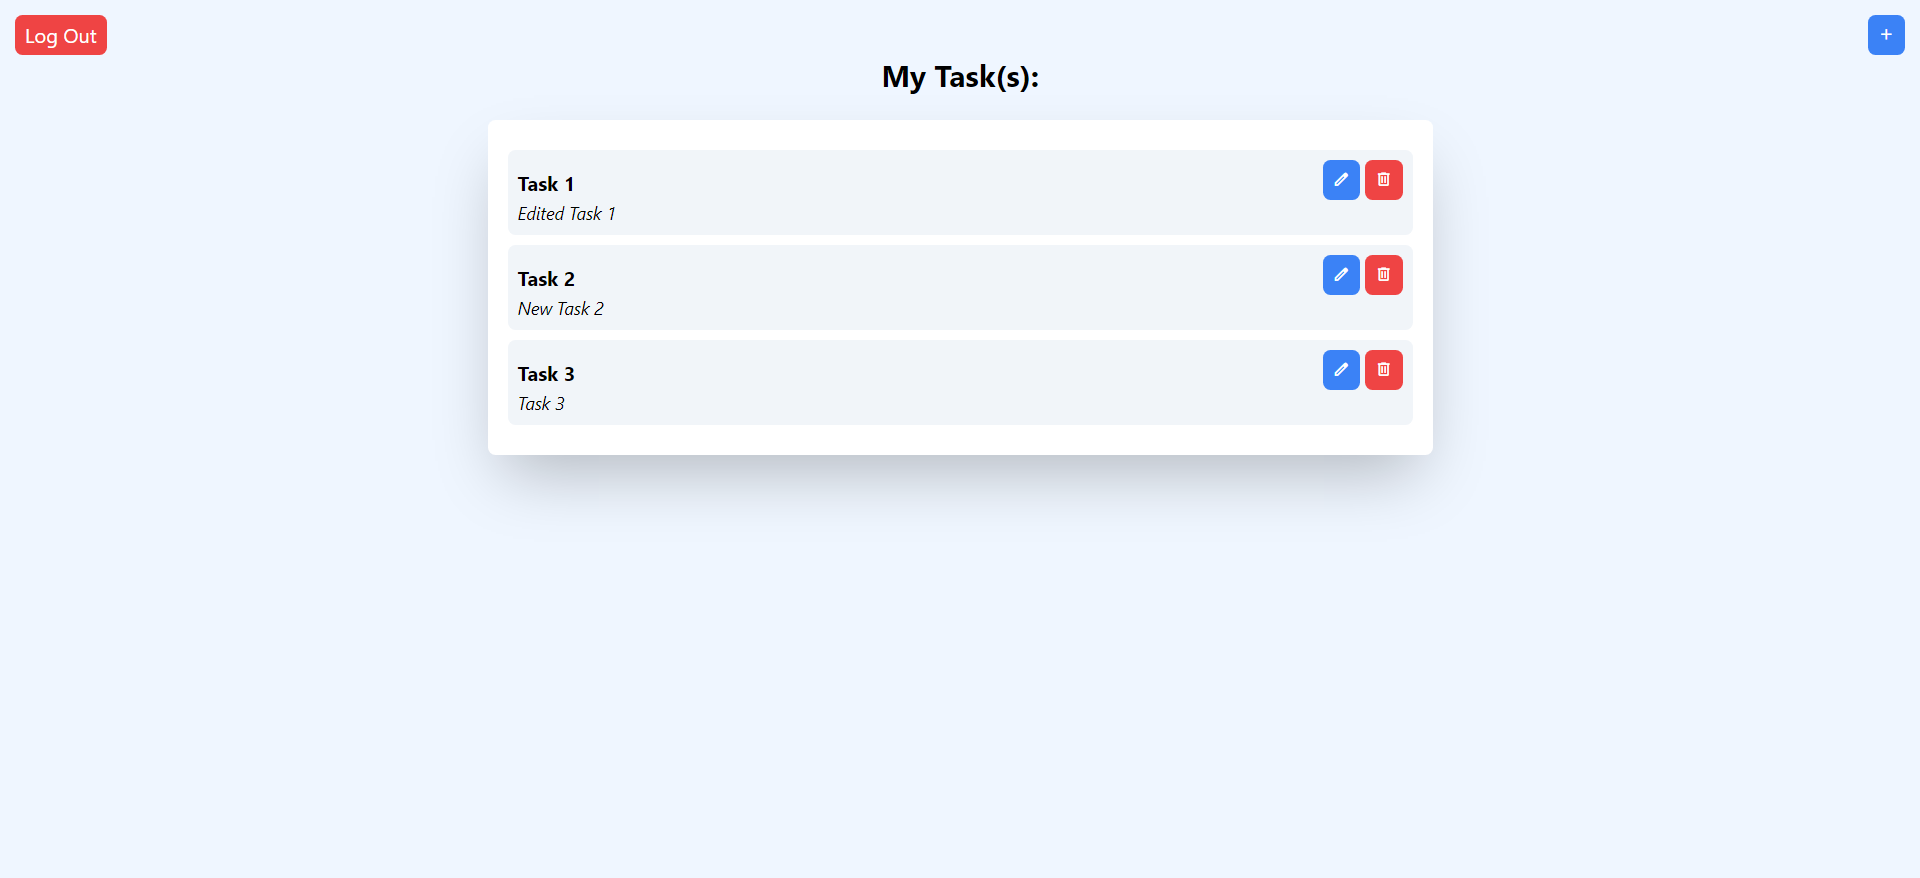
Fig 8: Multiple Data Entry
The user has to click the red button in order to delete a particular task which will open a confirmation modal as shown in Fig 9 depending on the choise of which the task will be deleted or not.
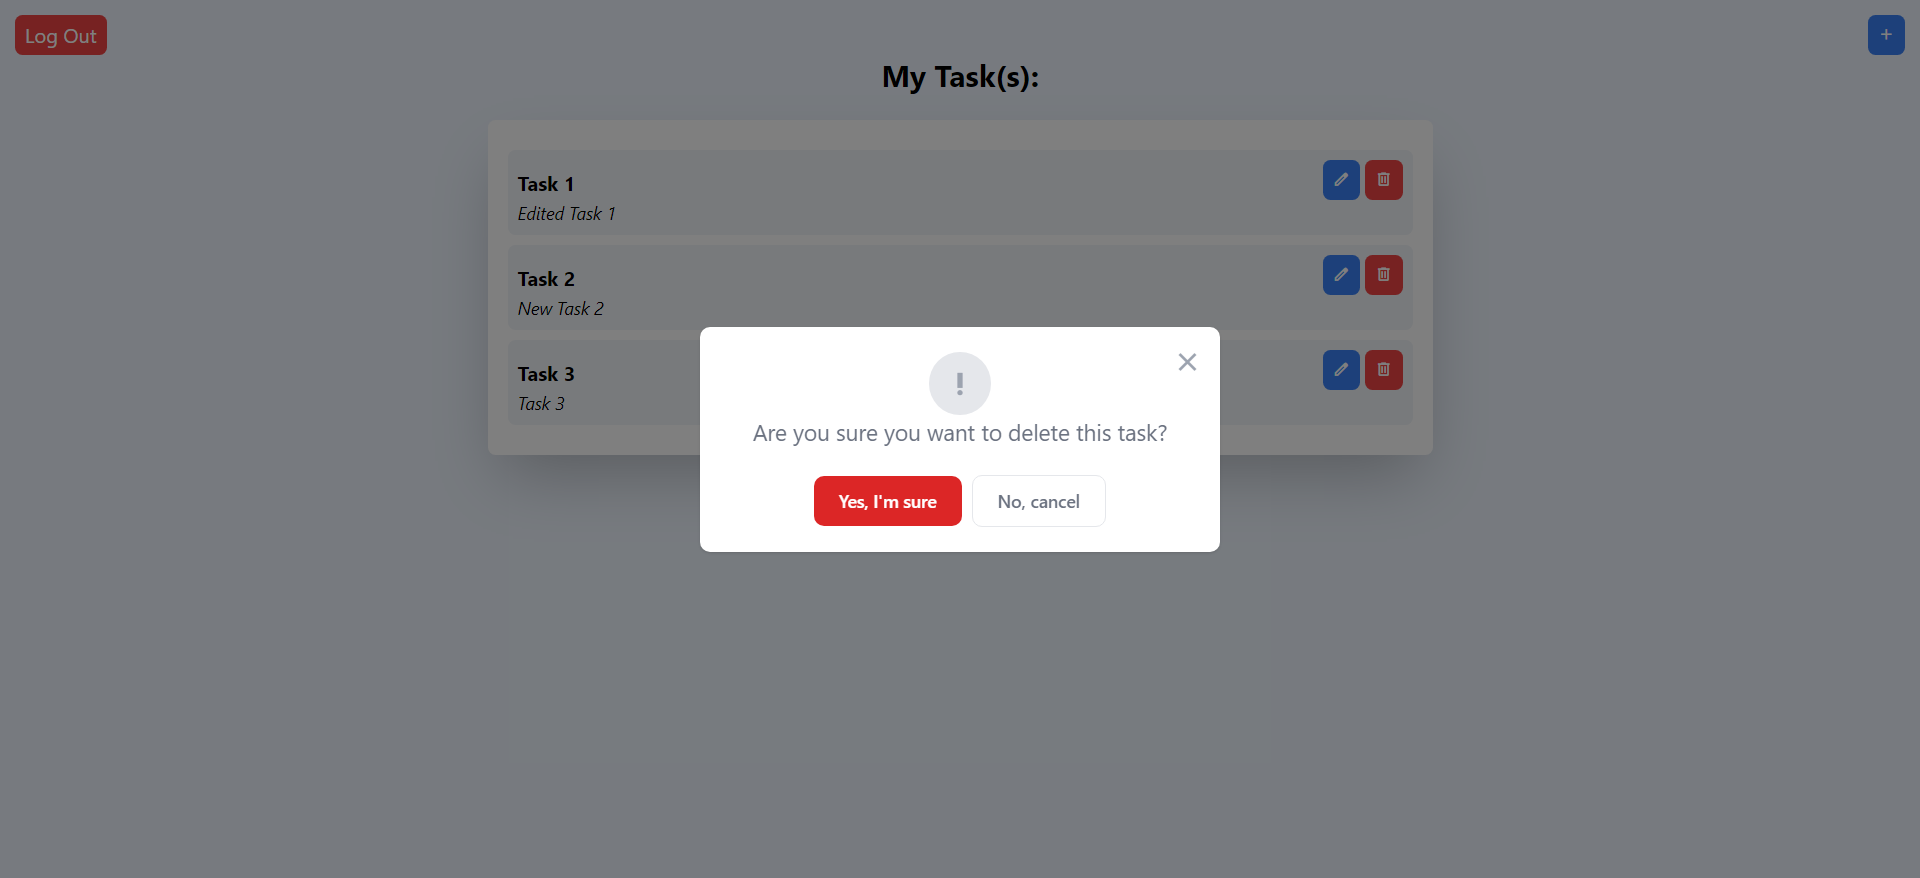
Fig 9: Confirmation Modal of Task Deletion
Backend Code To delete a particular task is as shown below.
Code To Delete a Particular Task
exports.deleteTask = async (req, res) => {
    try {
        const task = await Task.findById(req.body.taskId);
        if (task) {
            task.isDeleted = 1;
            await task.save();

            res.status(200).send({
                message: "Task Deleted Successfully!"
            });
        }
        else {
            res.status(404).send({
                message: "Task Not Found!"
            });
        }
    } catch (error) {
        res.status(500).send(error);
    }
};
If the user agrees the deletion of the task in the deletion modal then that particular task will be removed from the task list as shown in Fig 10 below.
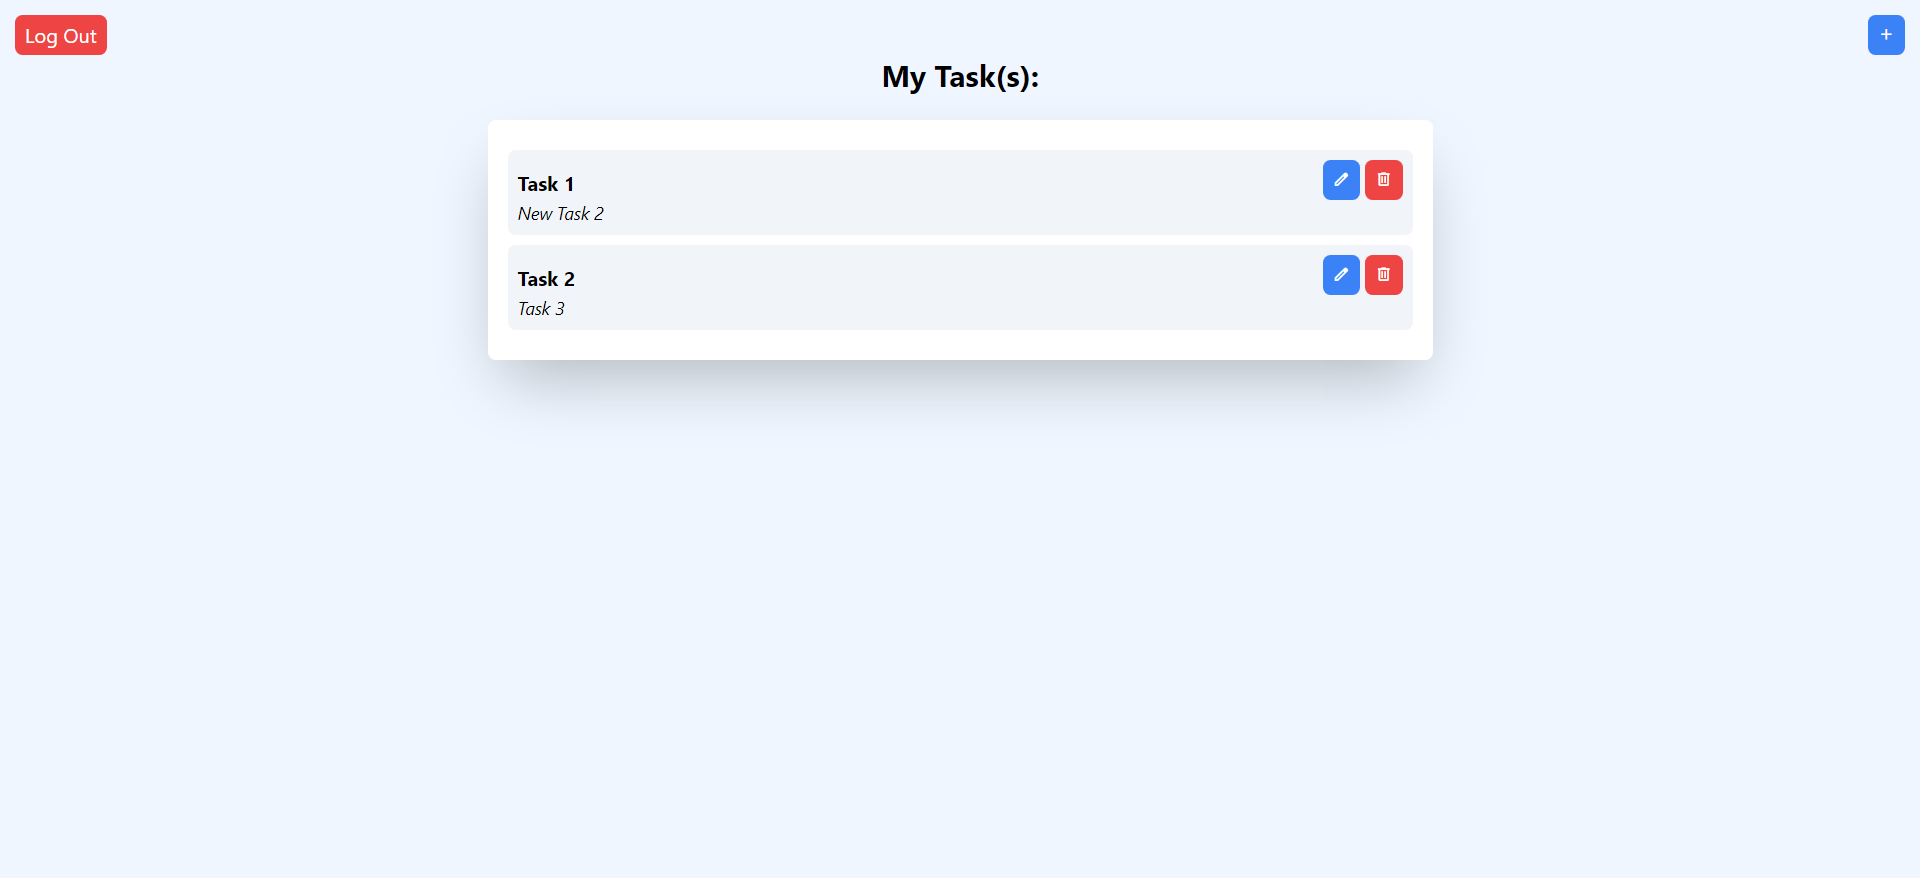
Fig 10: Final Task List After Deletion
The user is provided with a logout button to the top-left corner of the task list page as shown in the figure above which will redirect the user to the Sign In page upon clicking this button.
Web Application Developed By MecKloid