
how to upload a project on the MecKloid website:
Step 1:
- register on the Meckloid website. click here to register.

Register Screen
Step 2:
- log onto the website, if it's ur first login then verify your email id using the 5 digit verification code sent on your registered email id. click here to login
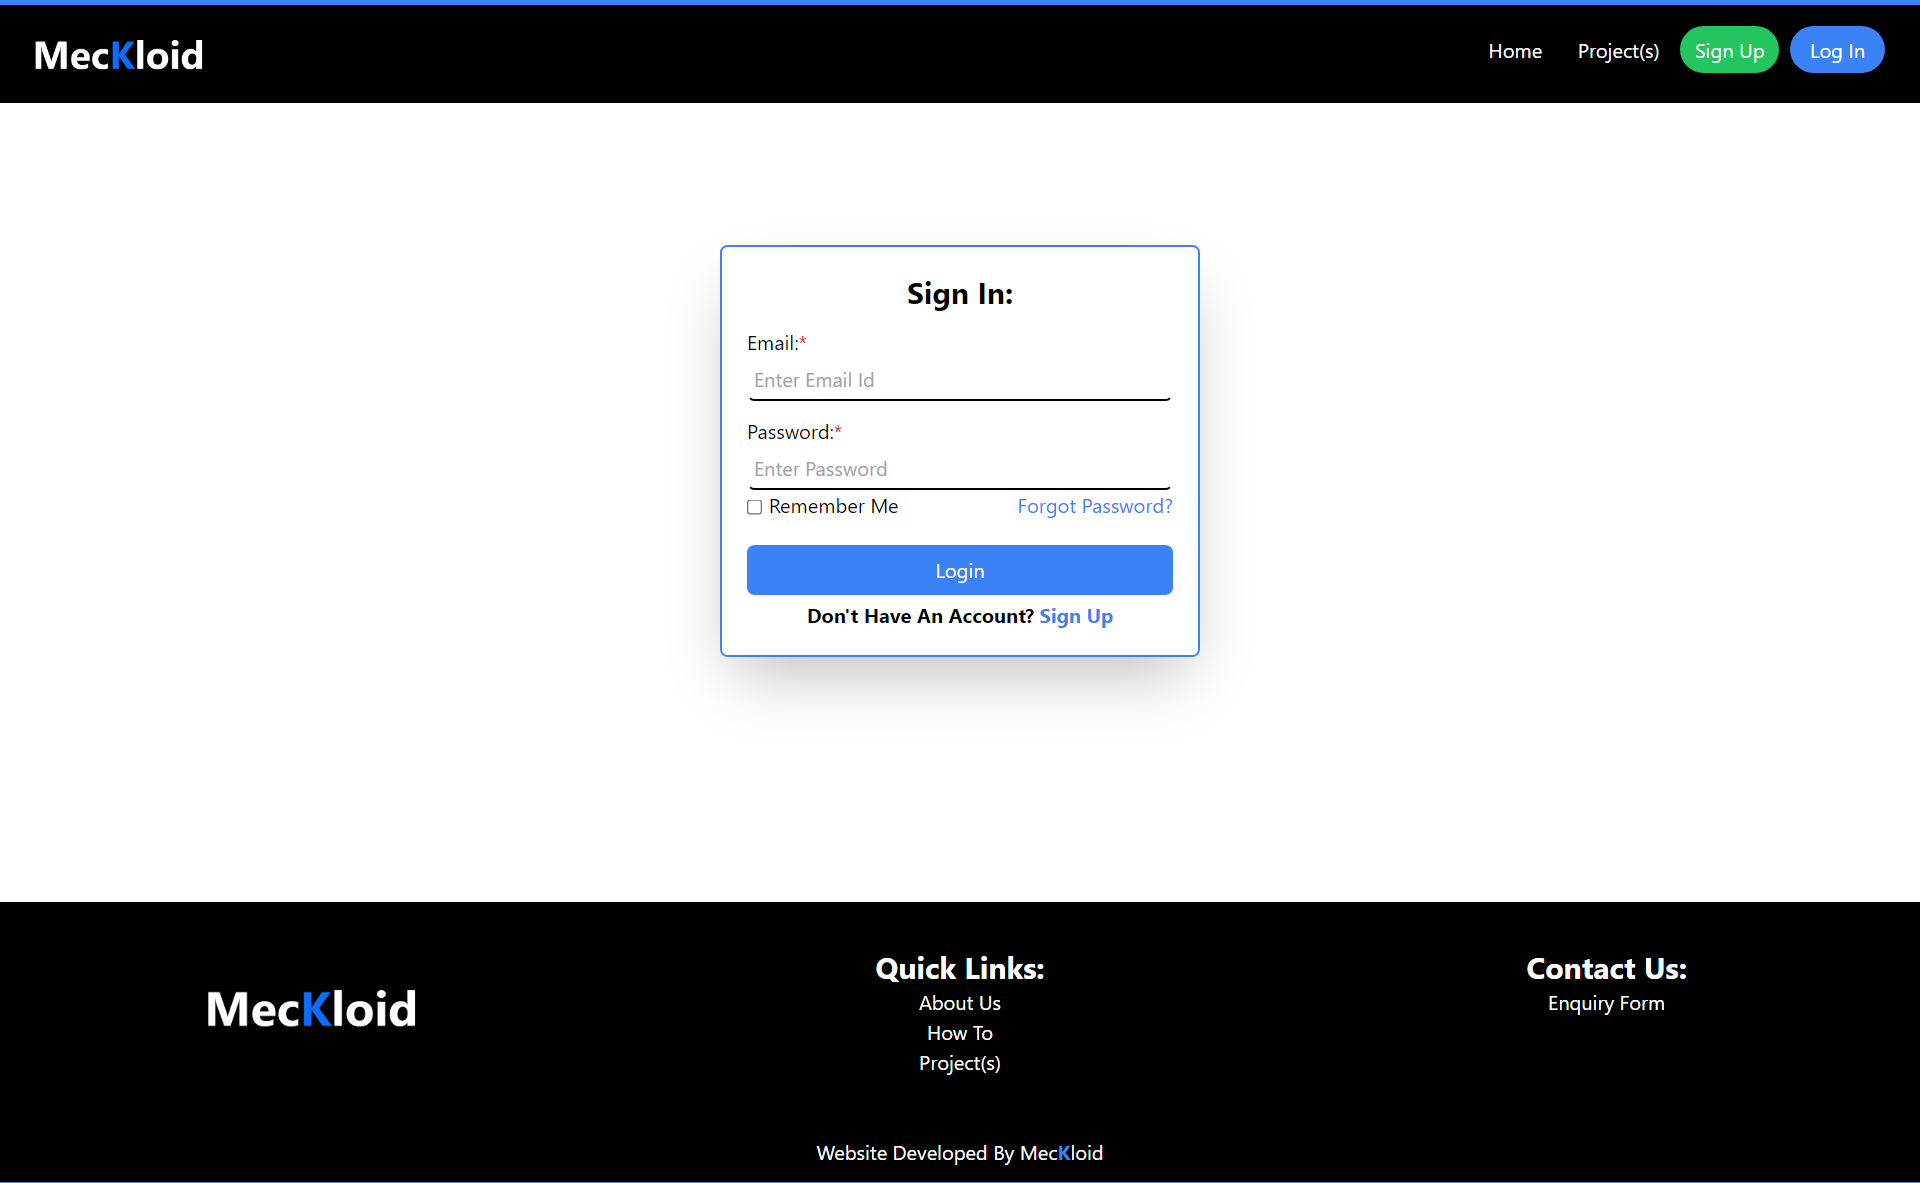
Login Screen
Step 3:
- upon successful login click on the add project button on the top right corner of the page to add your project.
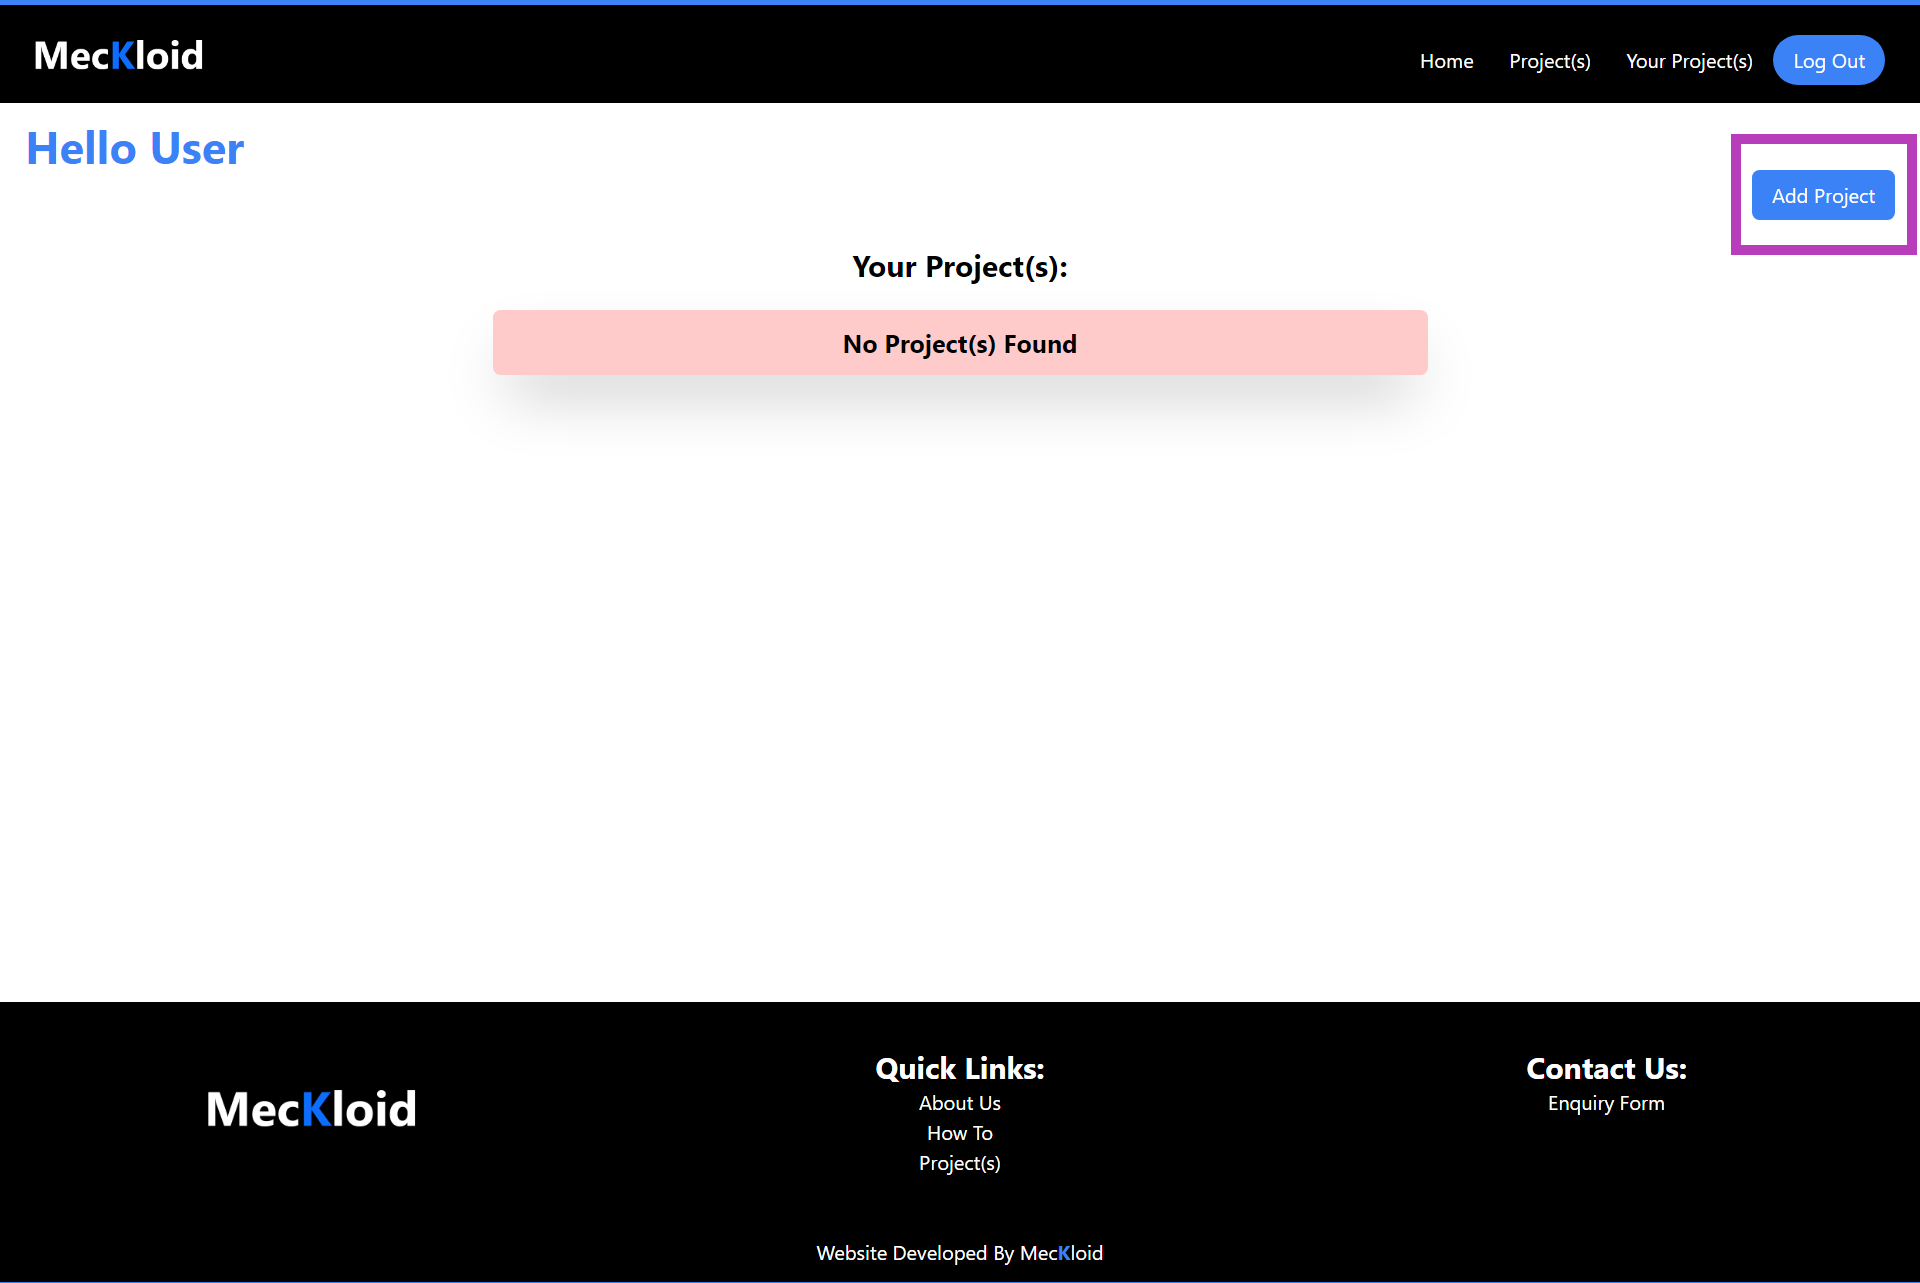
Project Screen
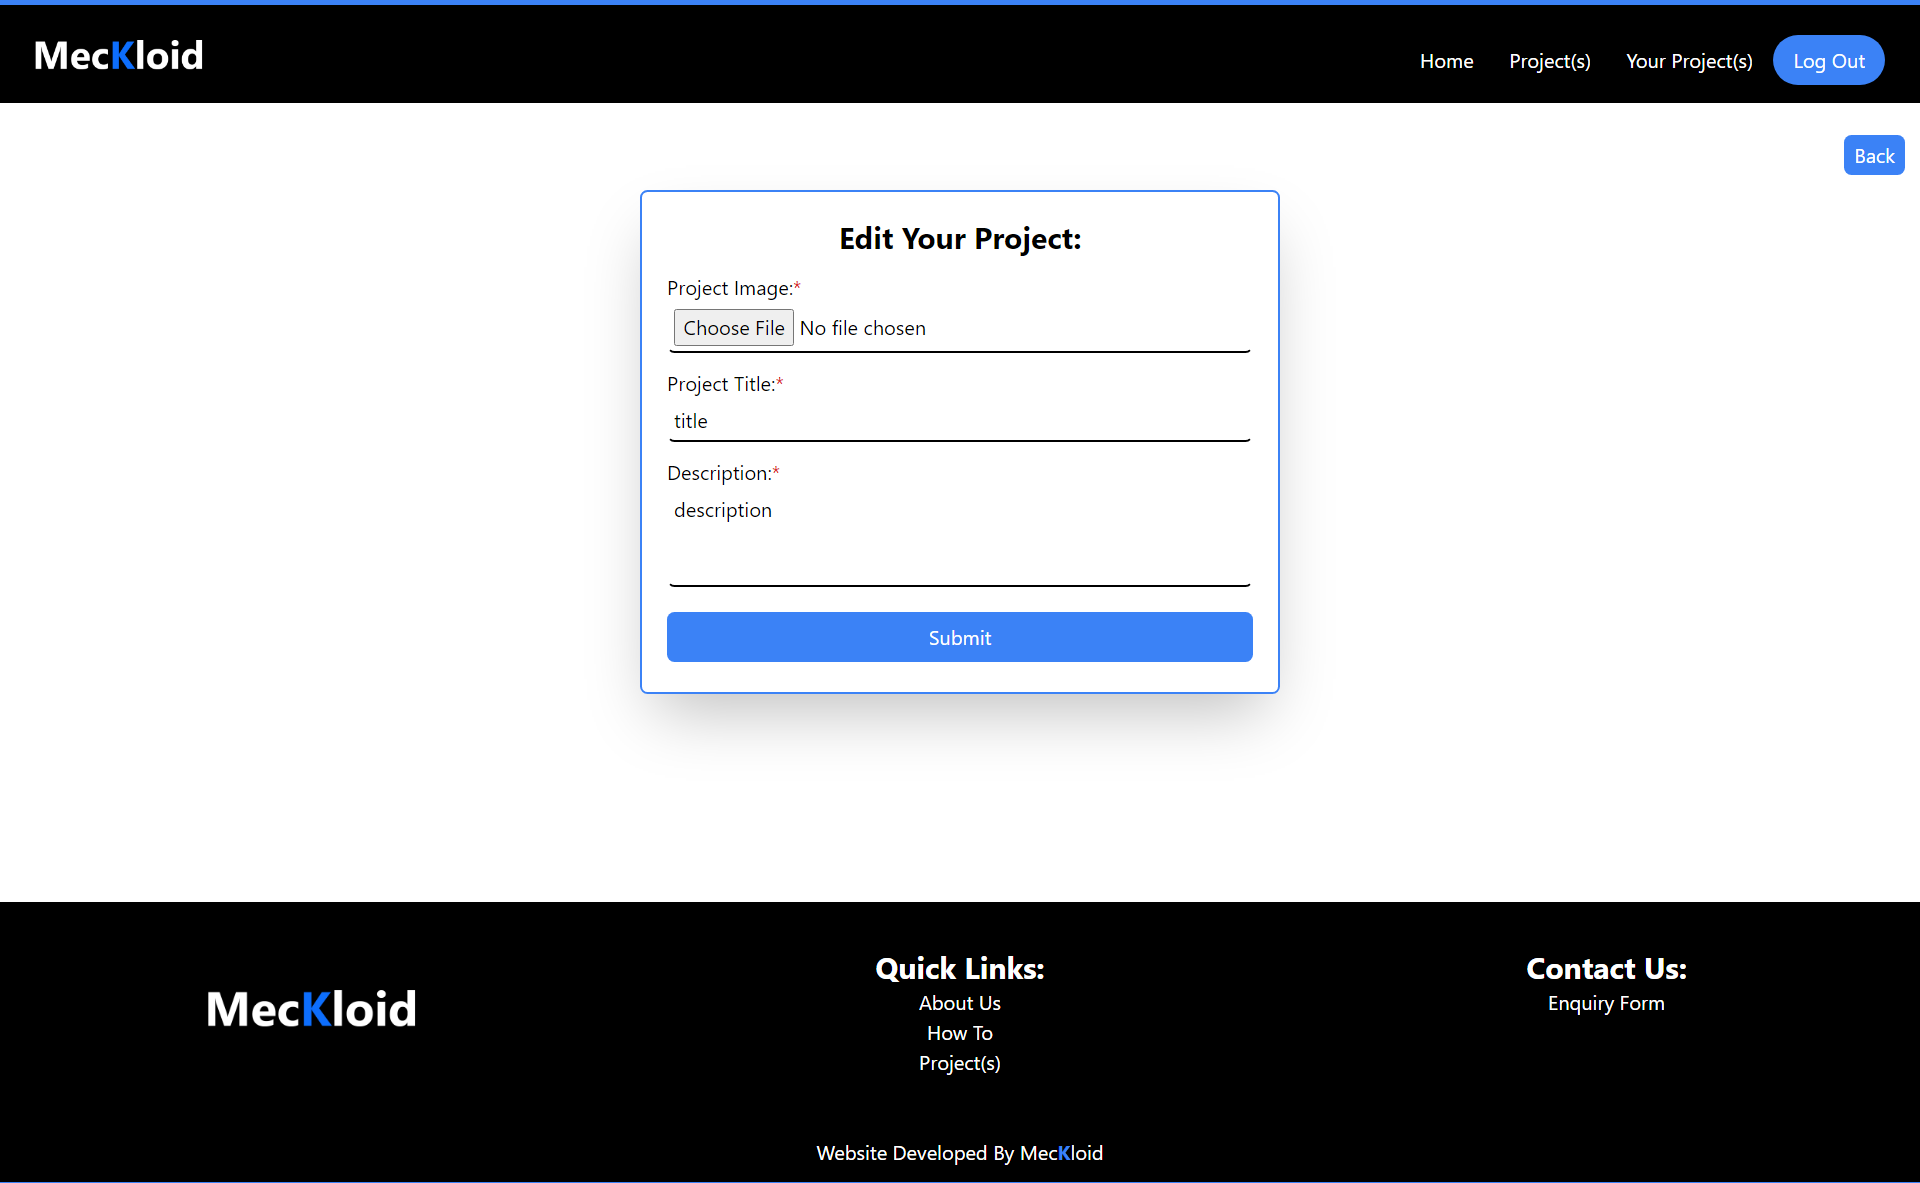
Step 4:
- fill in the required information like project Image, project title, project token, short project description and submit the form.
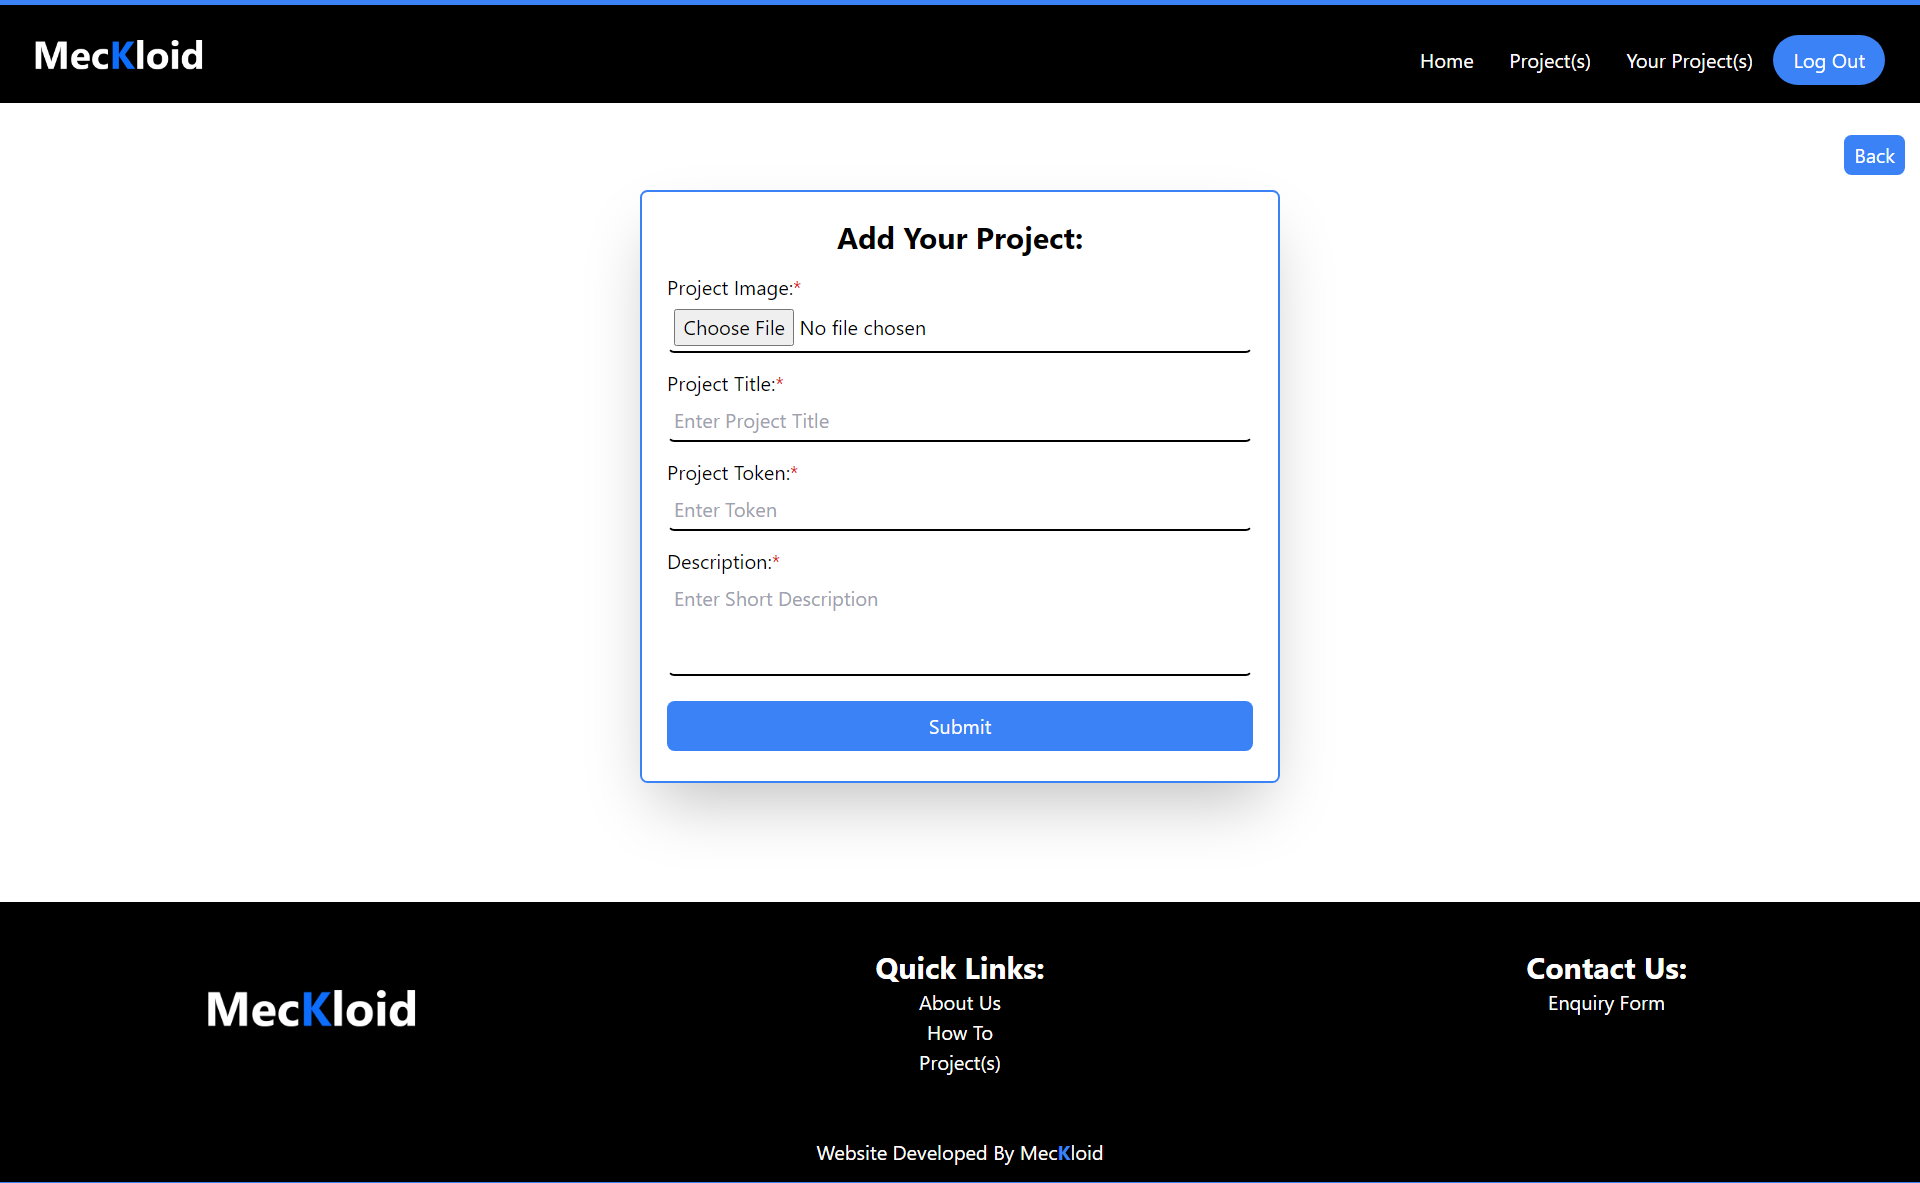
Add Project Screen
Step 5:
- upon successful submission the website will create a project space for your project where you can add your project data using the view button.
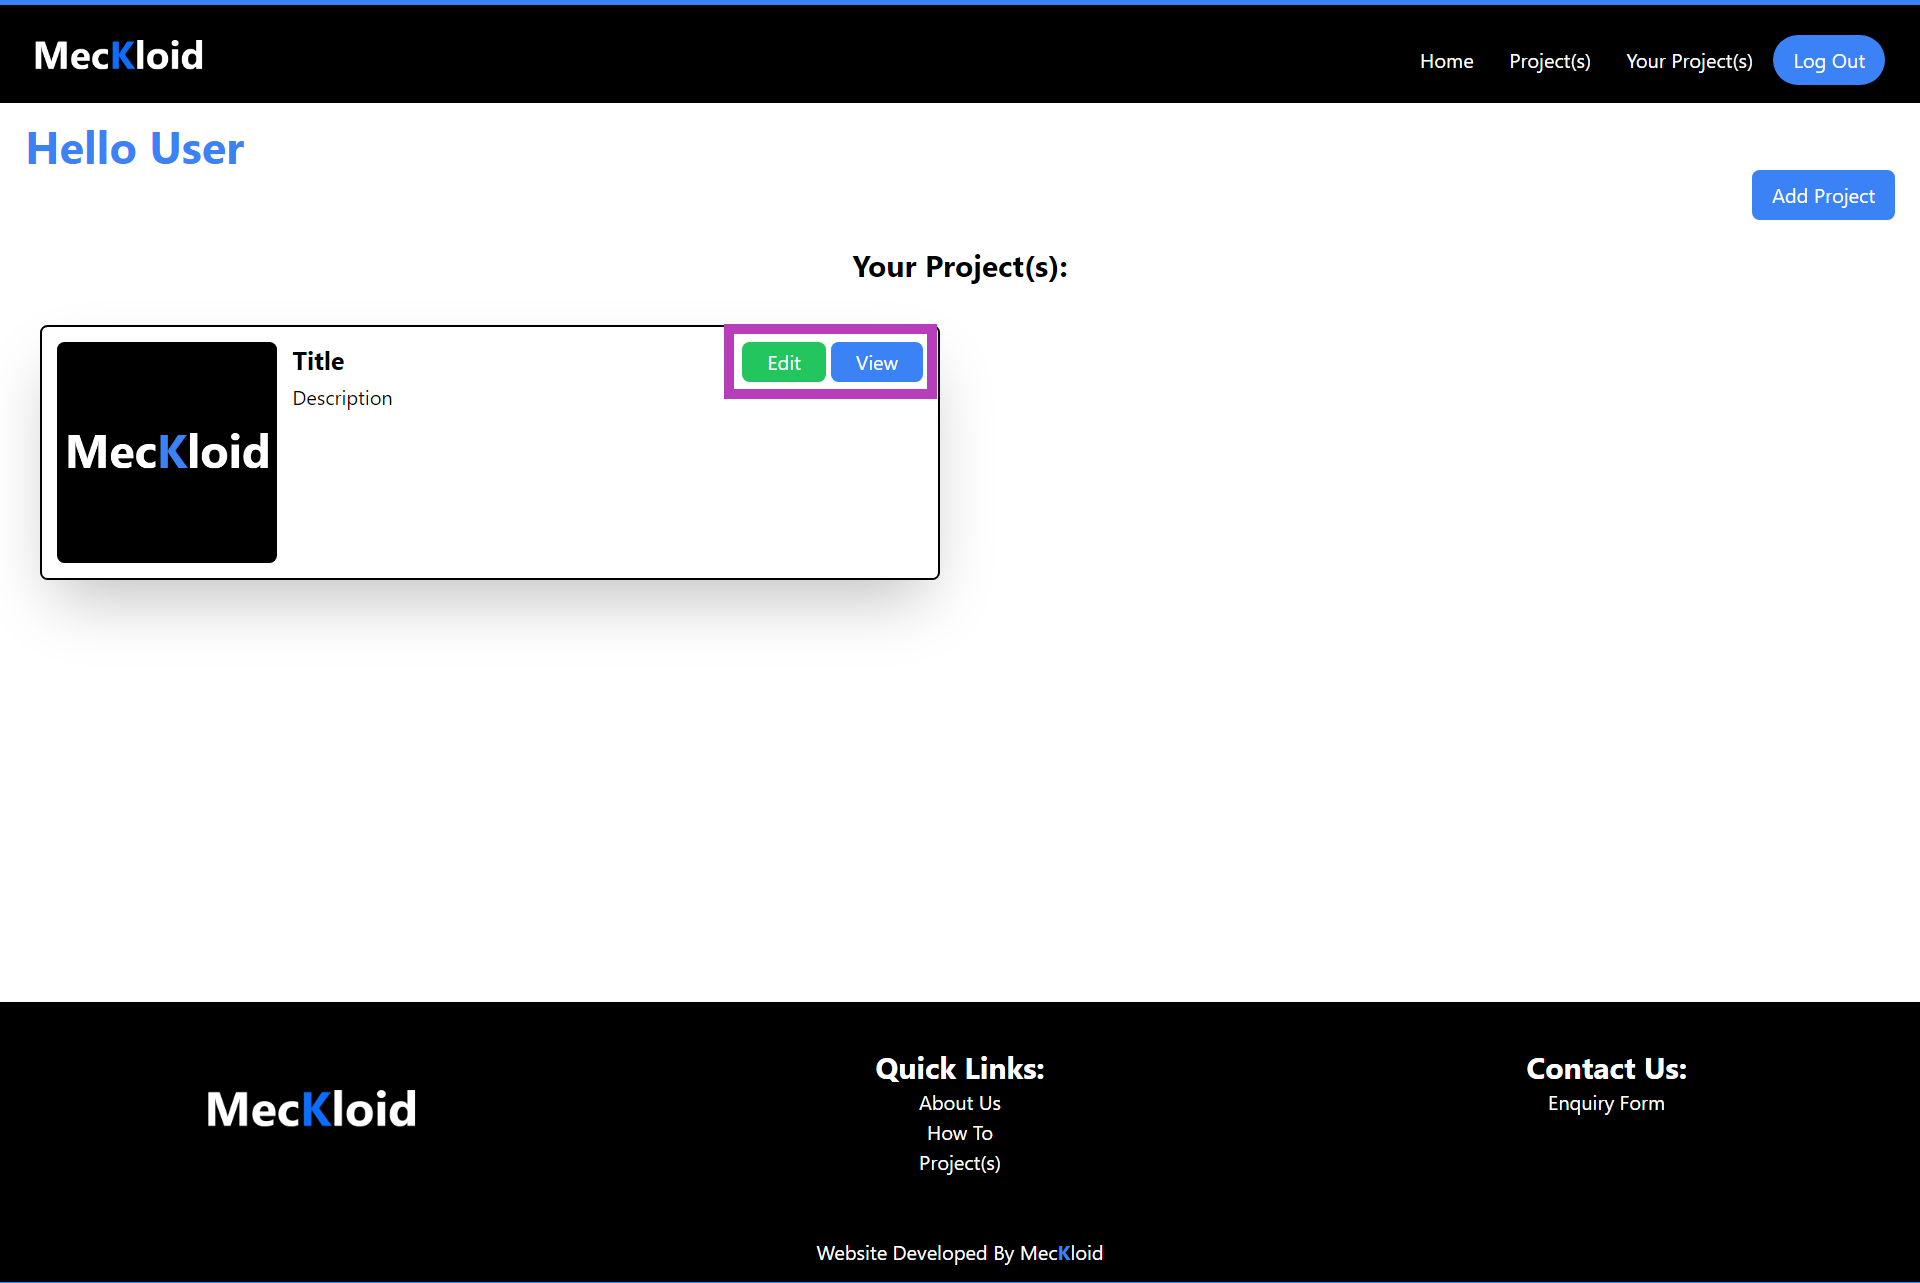
Project Screen(After Adding a Project)
Step 6:
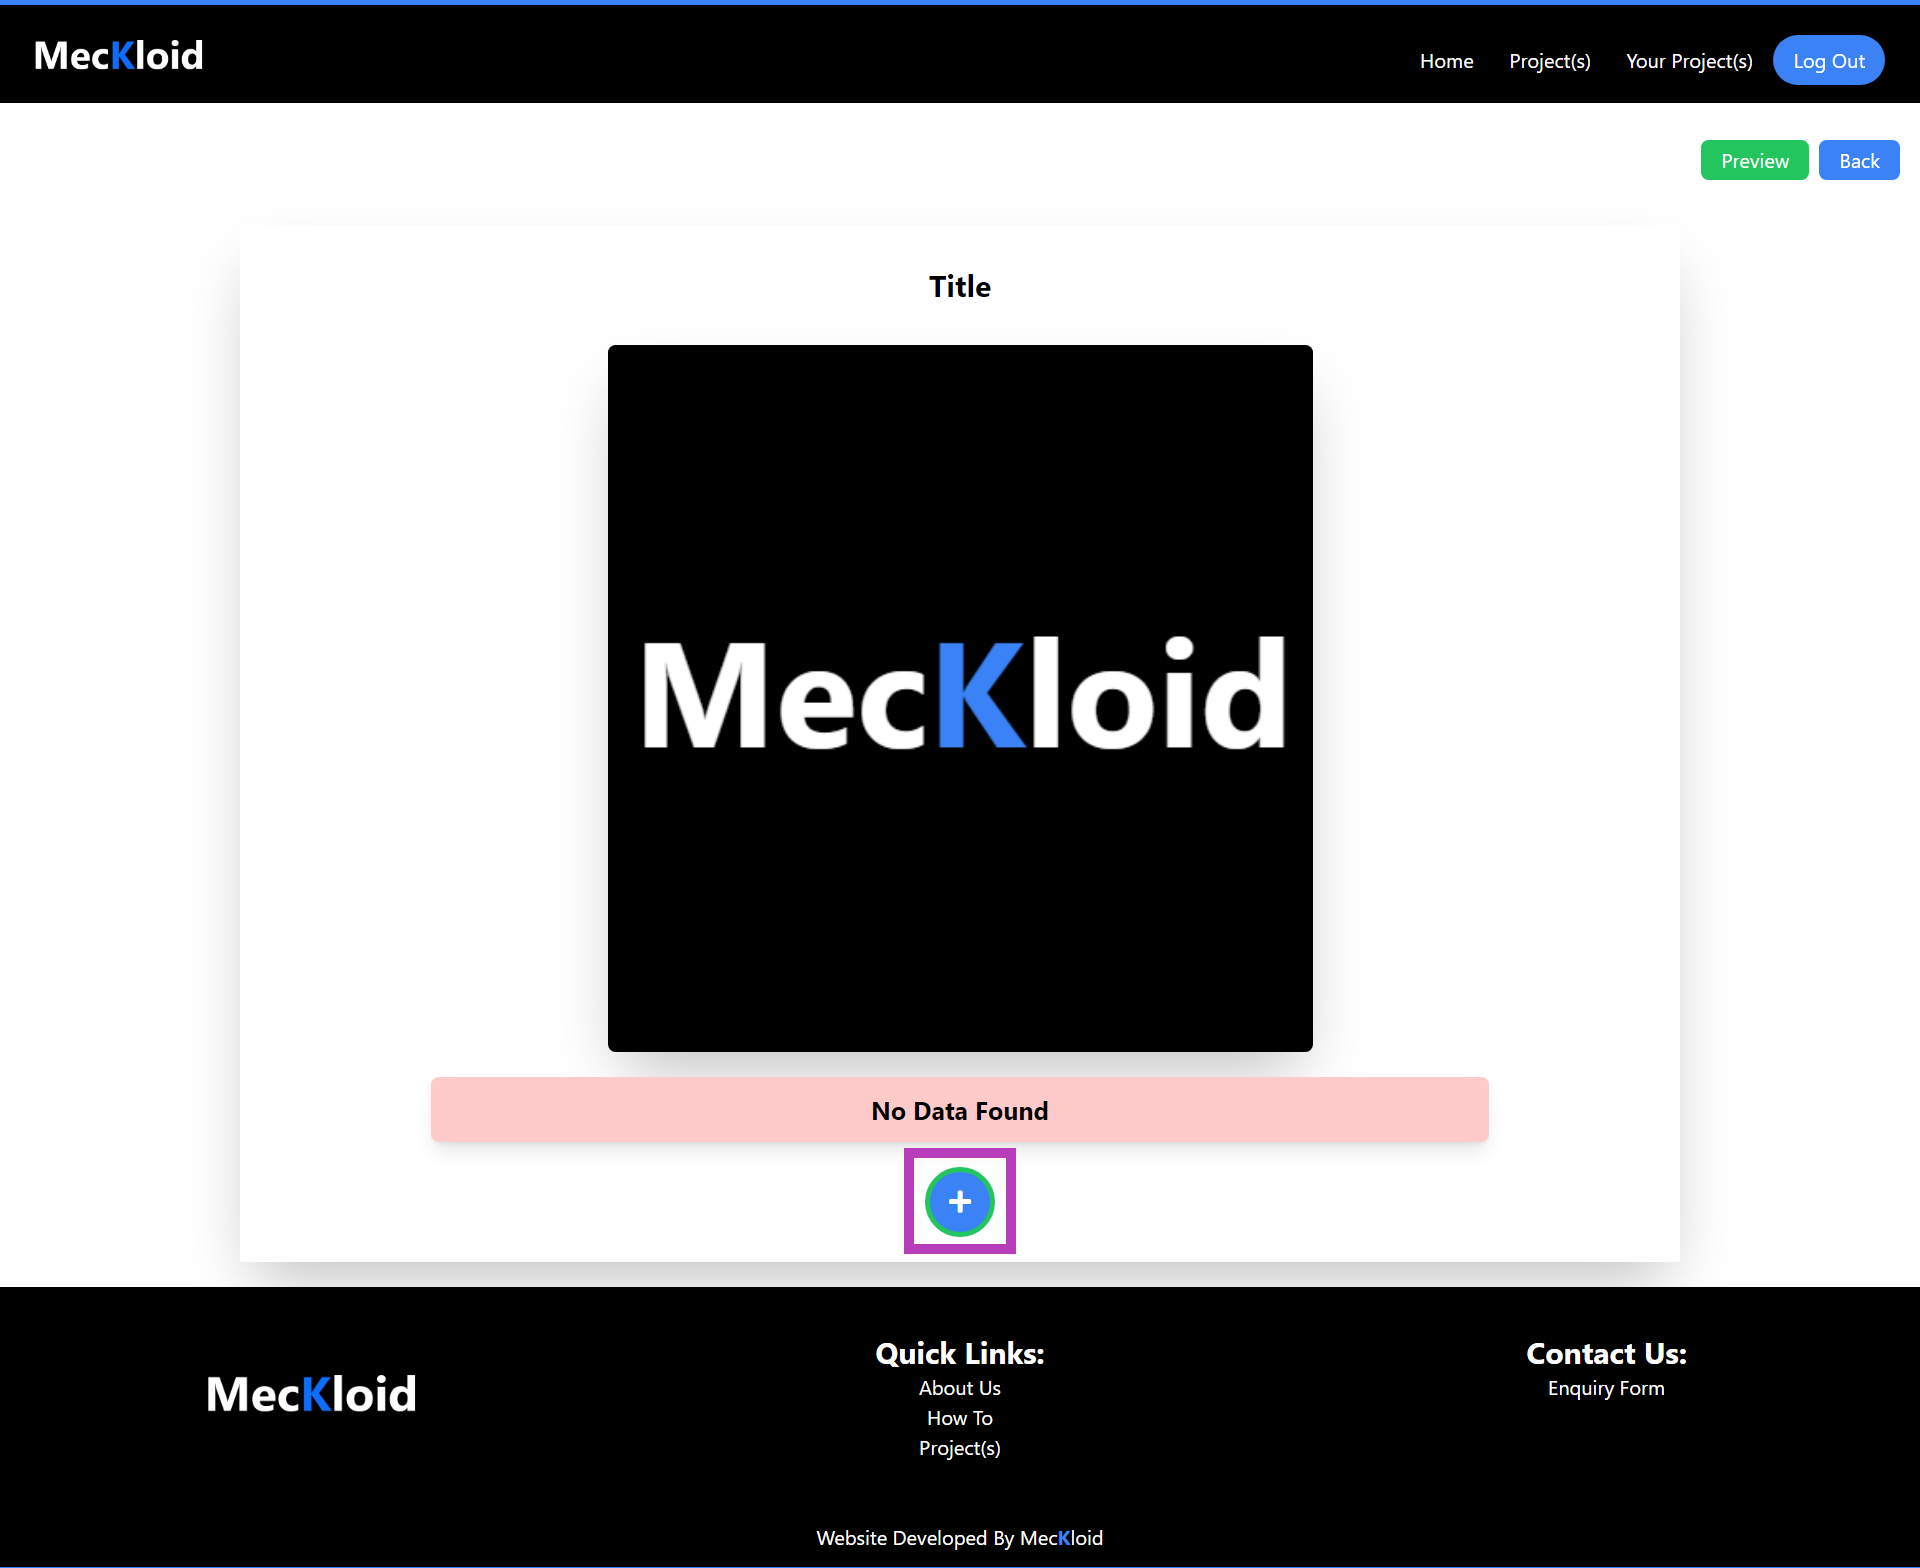
View Screen
Edit Screen
Step 7:
- the add button provides 4 options i.e. add title, add paragraph/short line note, add image, add URL link. use the appropriate option the add the type of data you want.
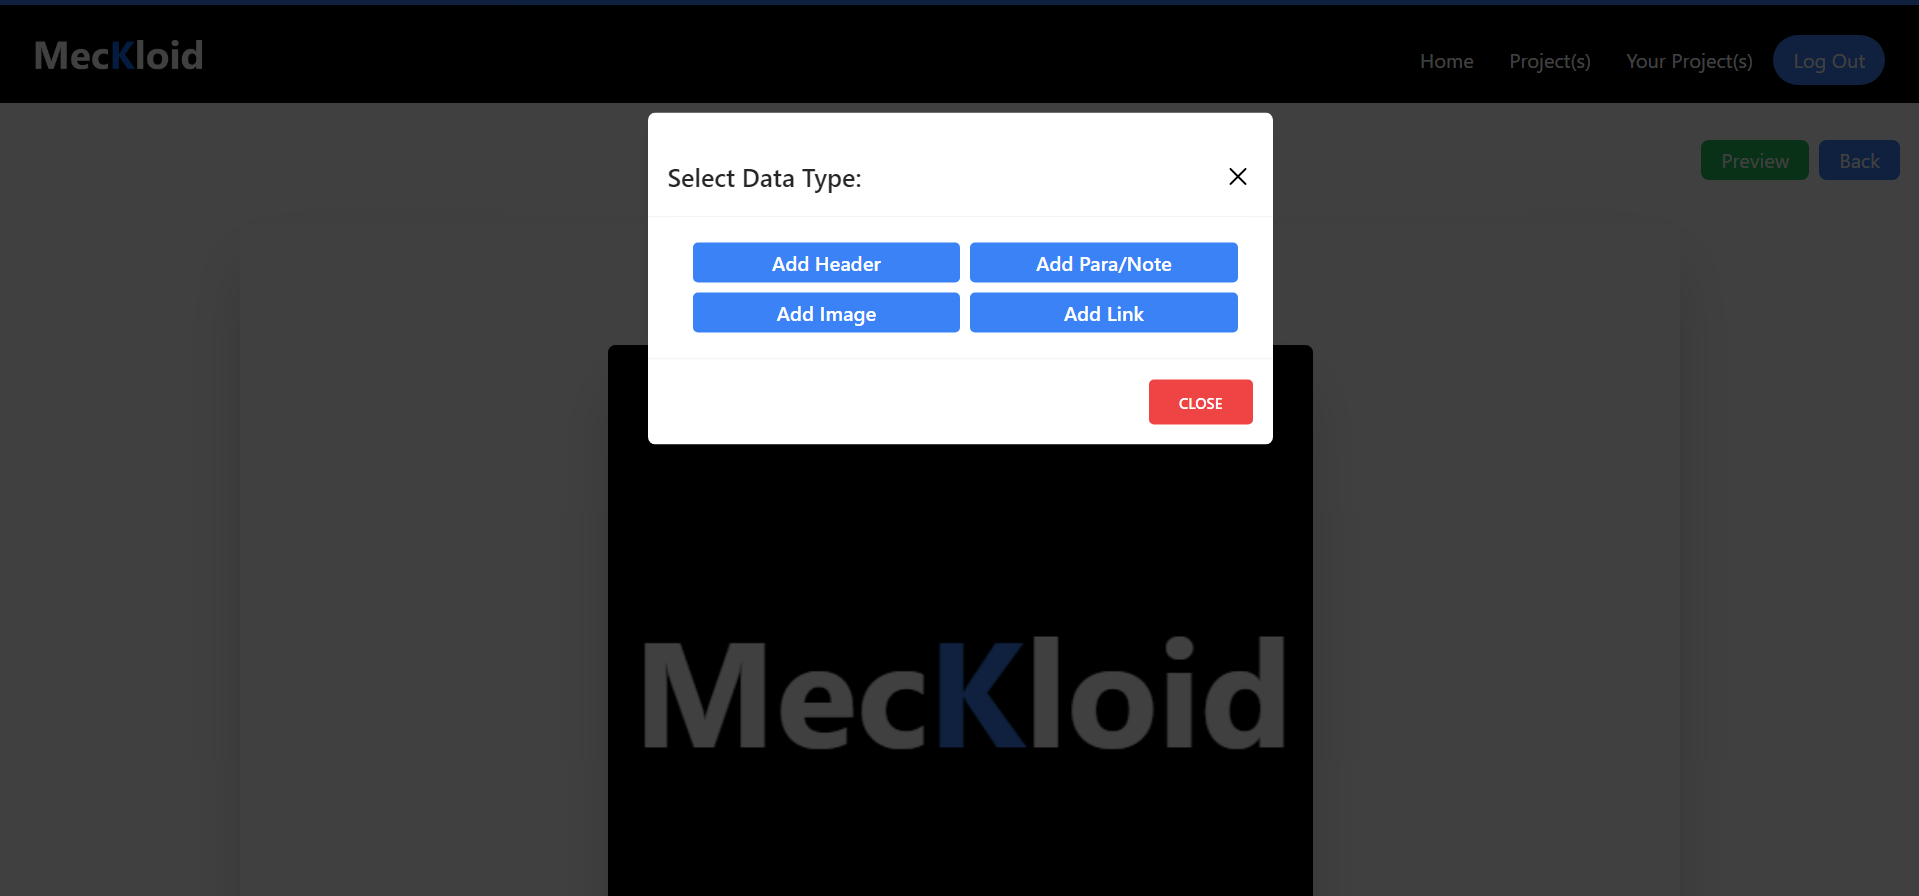
Data Option Screen
Step 8:
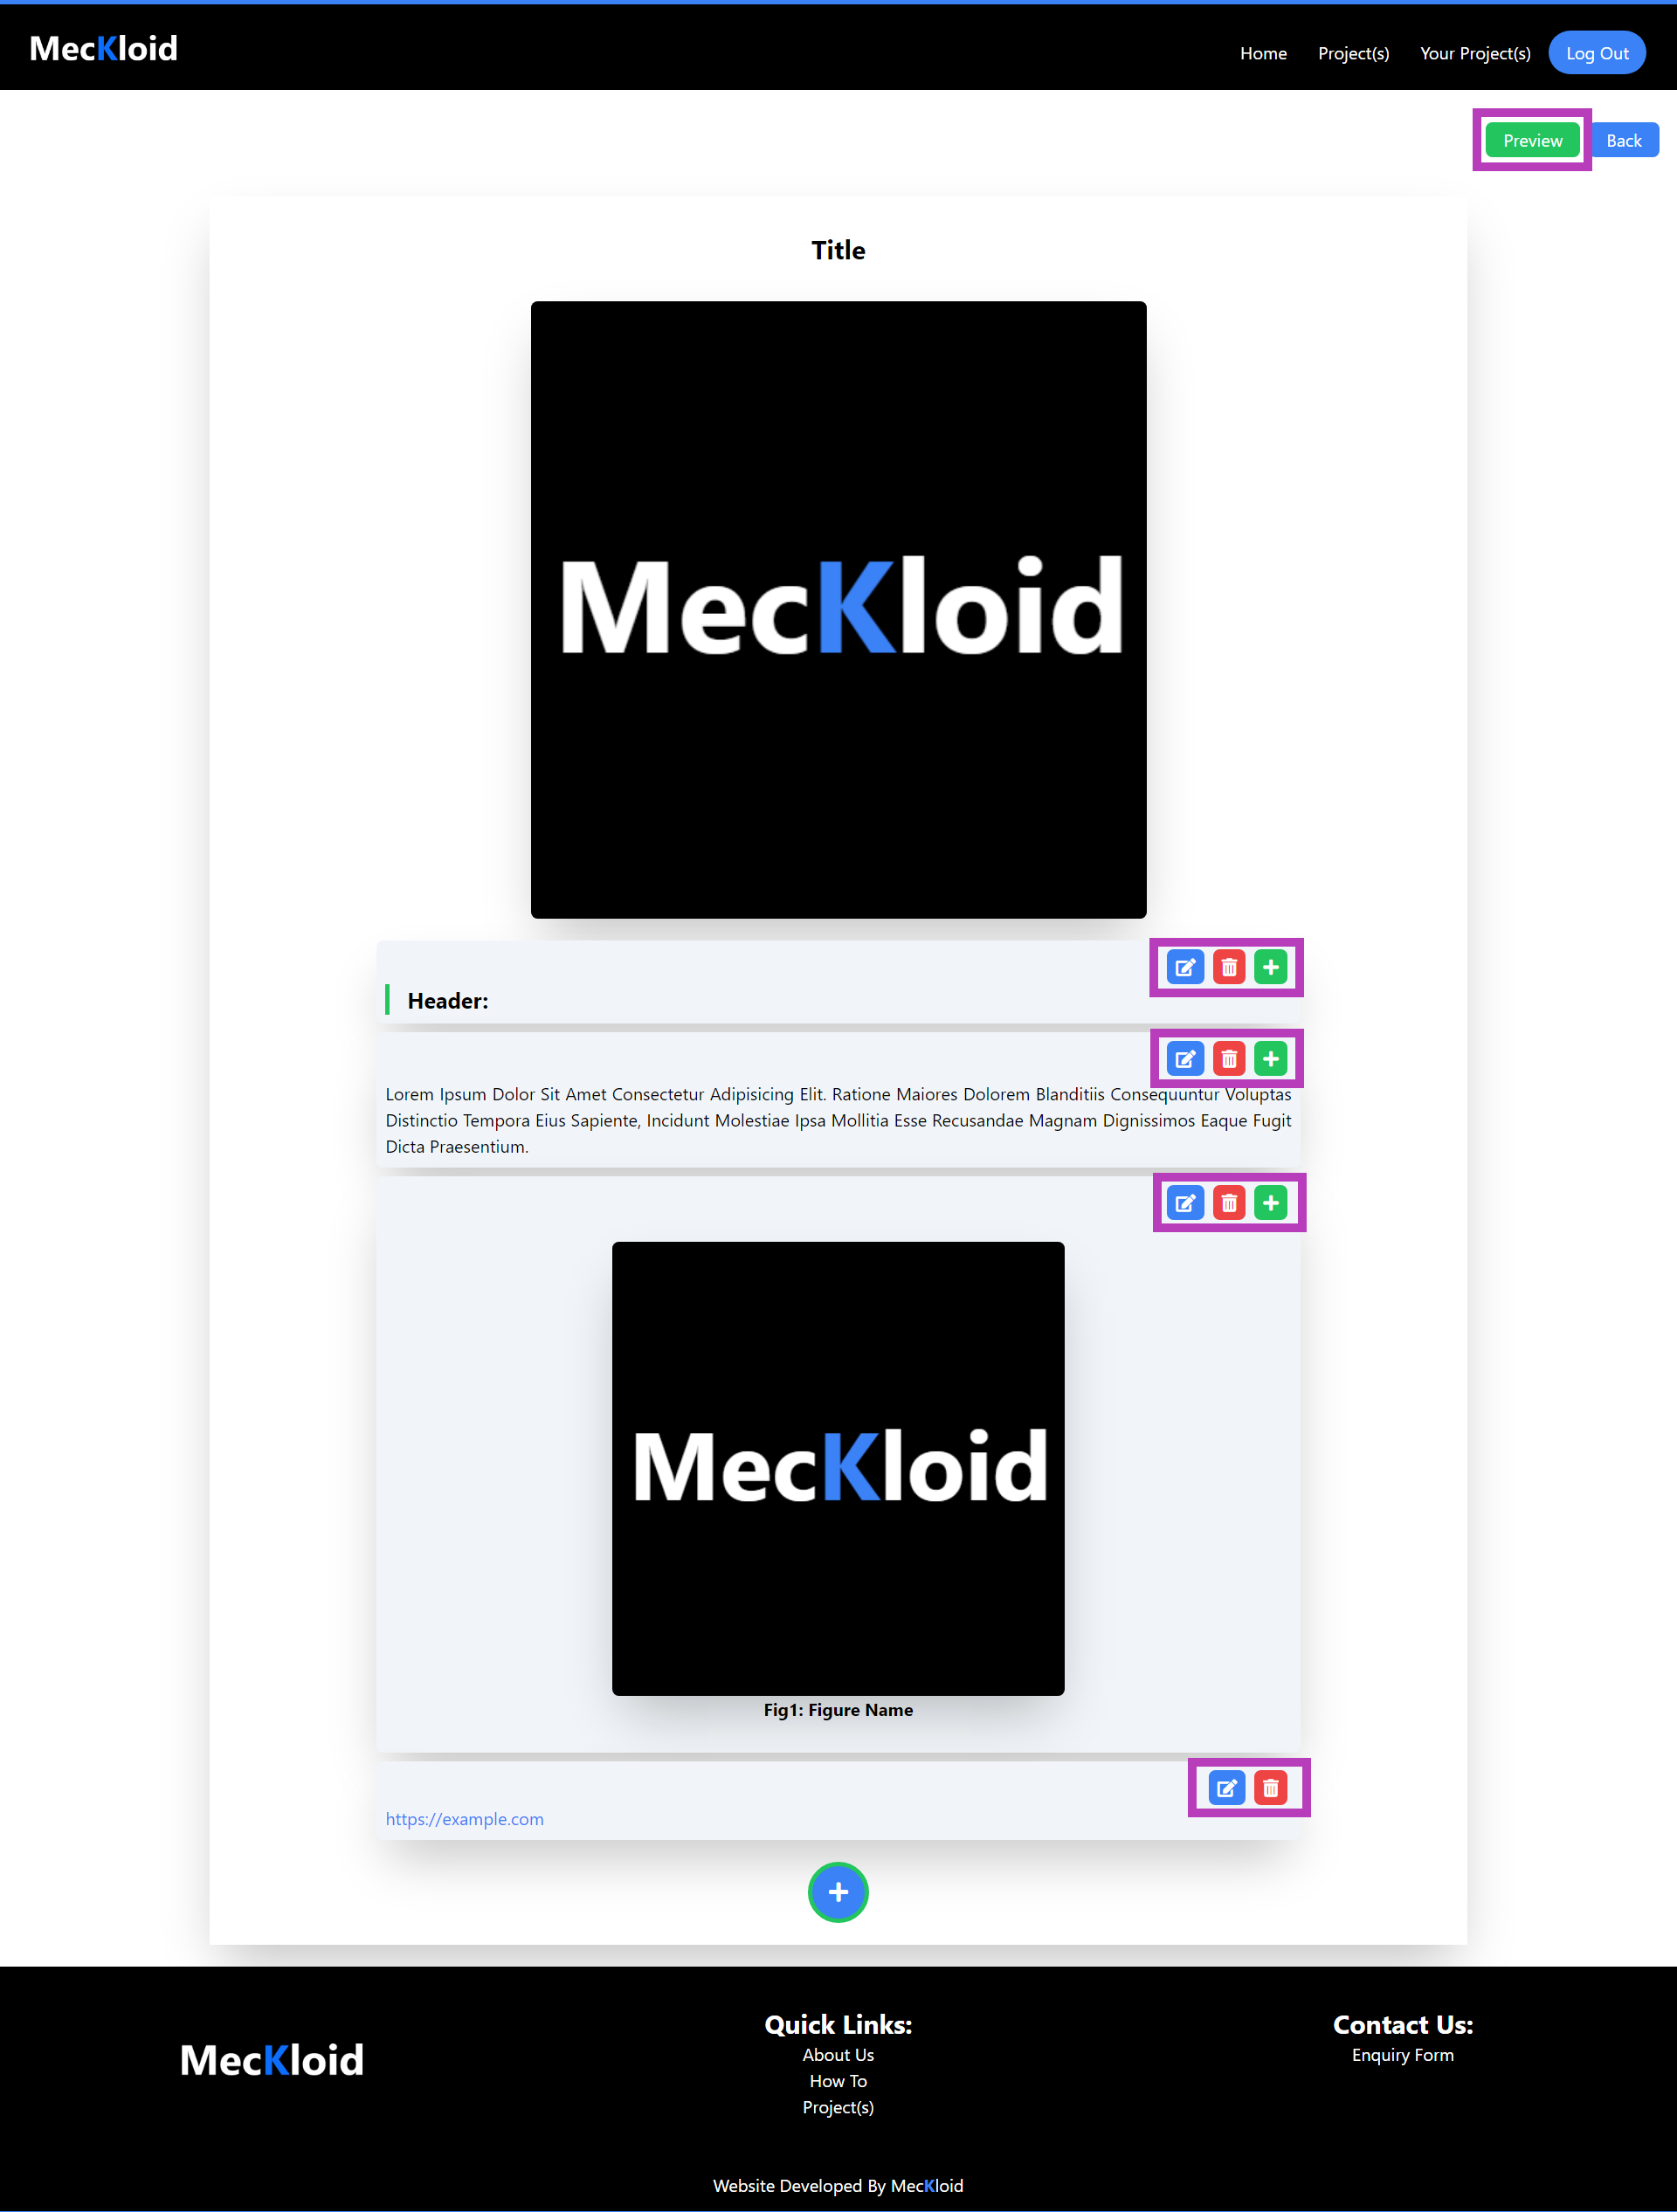
Edit Buttons
Step 9:
- the green add button (shown in Step 8) on the right of each data step can be used to add data after the current selected data step.
Step 10:
- once all the data is uploaded the user can then see the preview of the project using the preview button (shown in Step 8) on the top right corner of the page.
Preview Screen
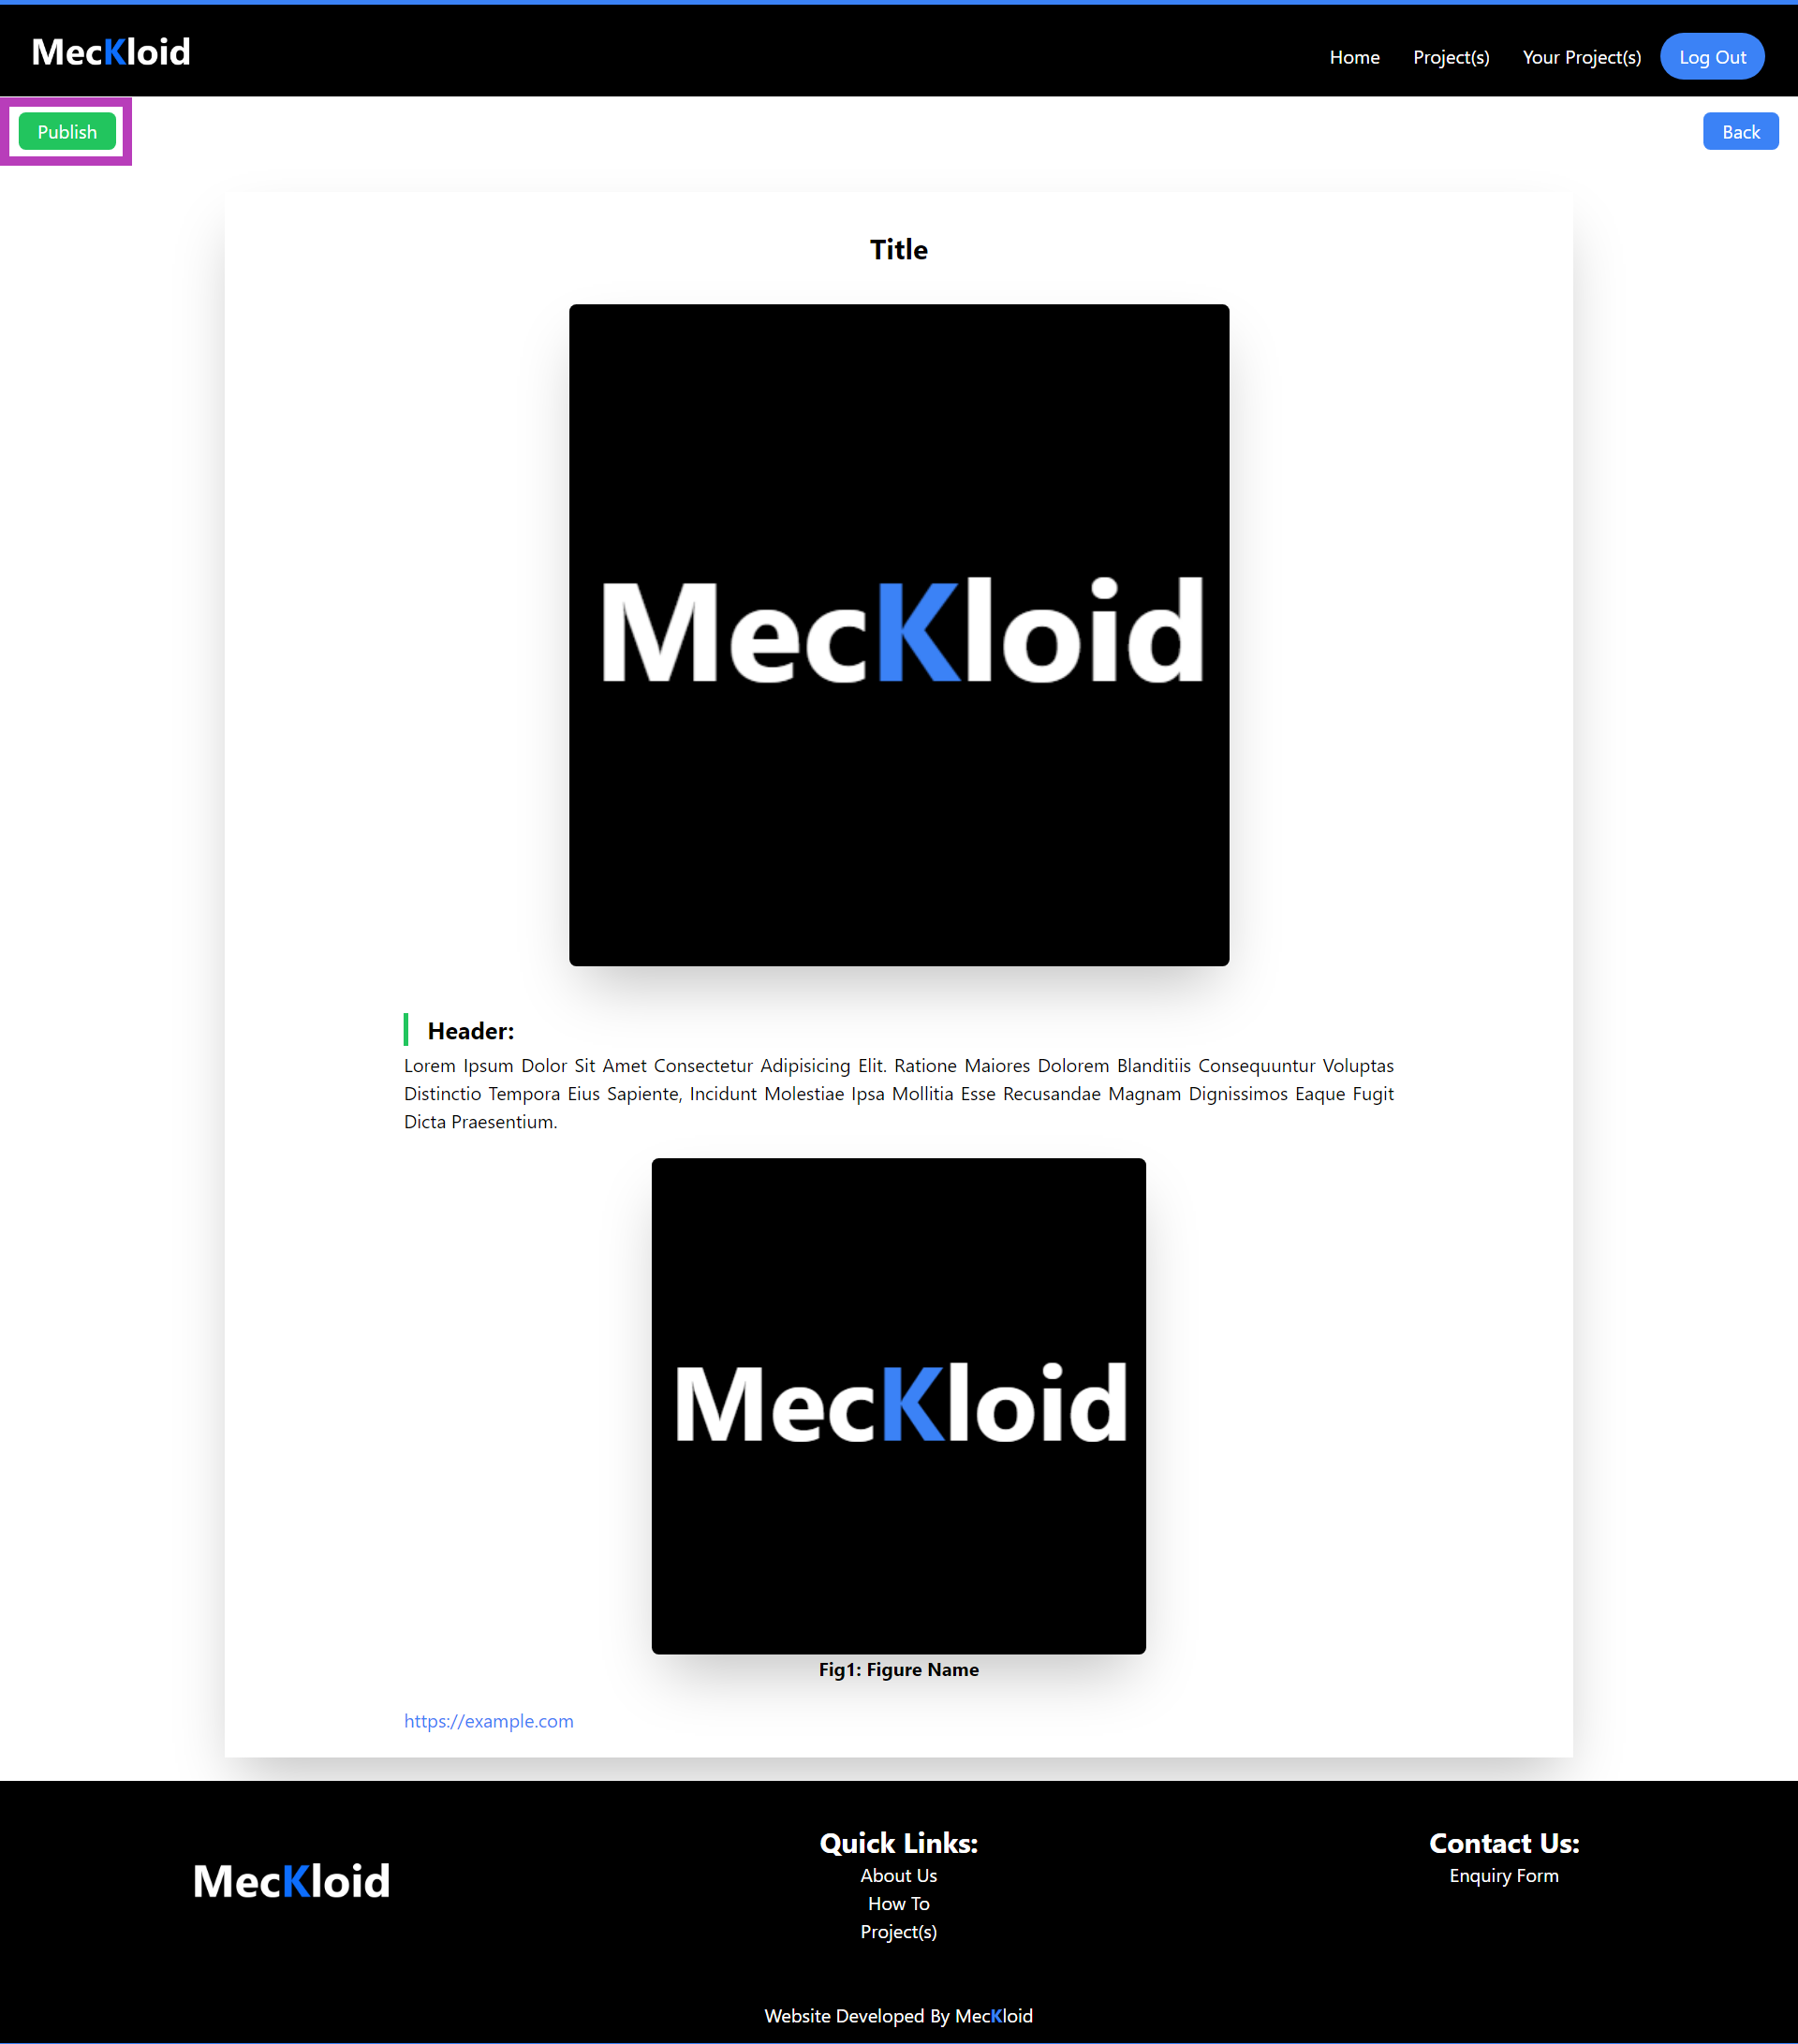
Step 11:
- the user can then use the publish button (shown in Step 10) on the top left corner of the website to make the project public, the project will then be visible in project section of the website as shown below.
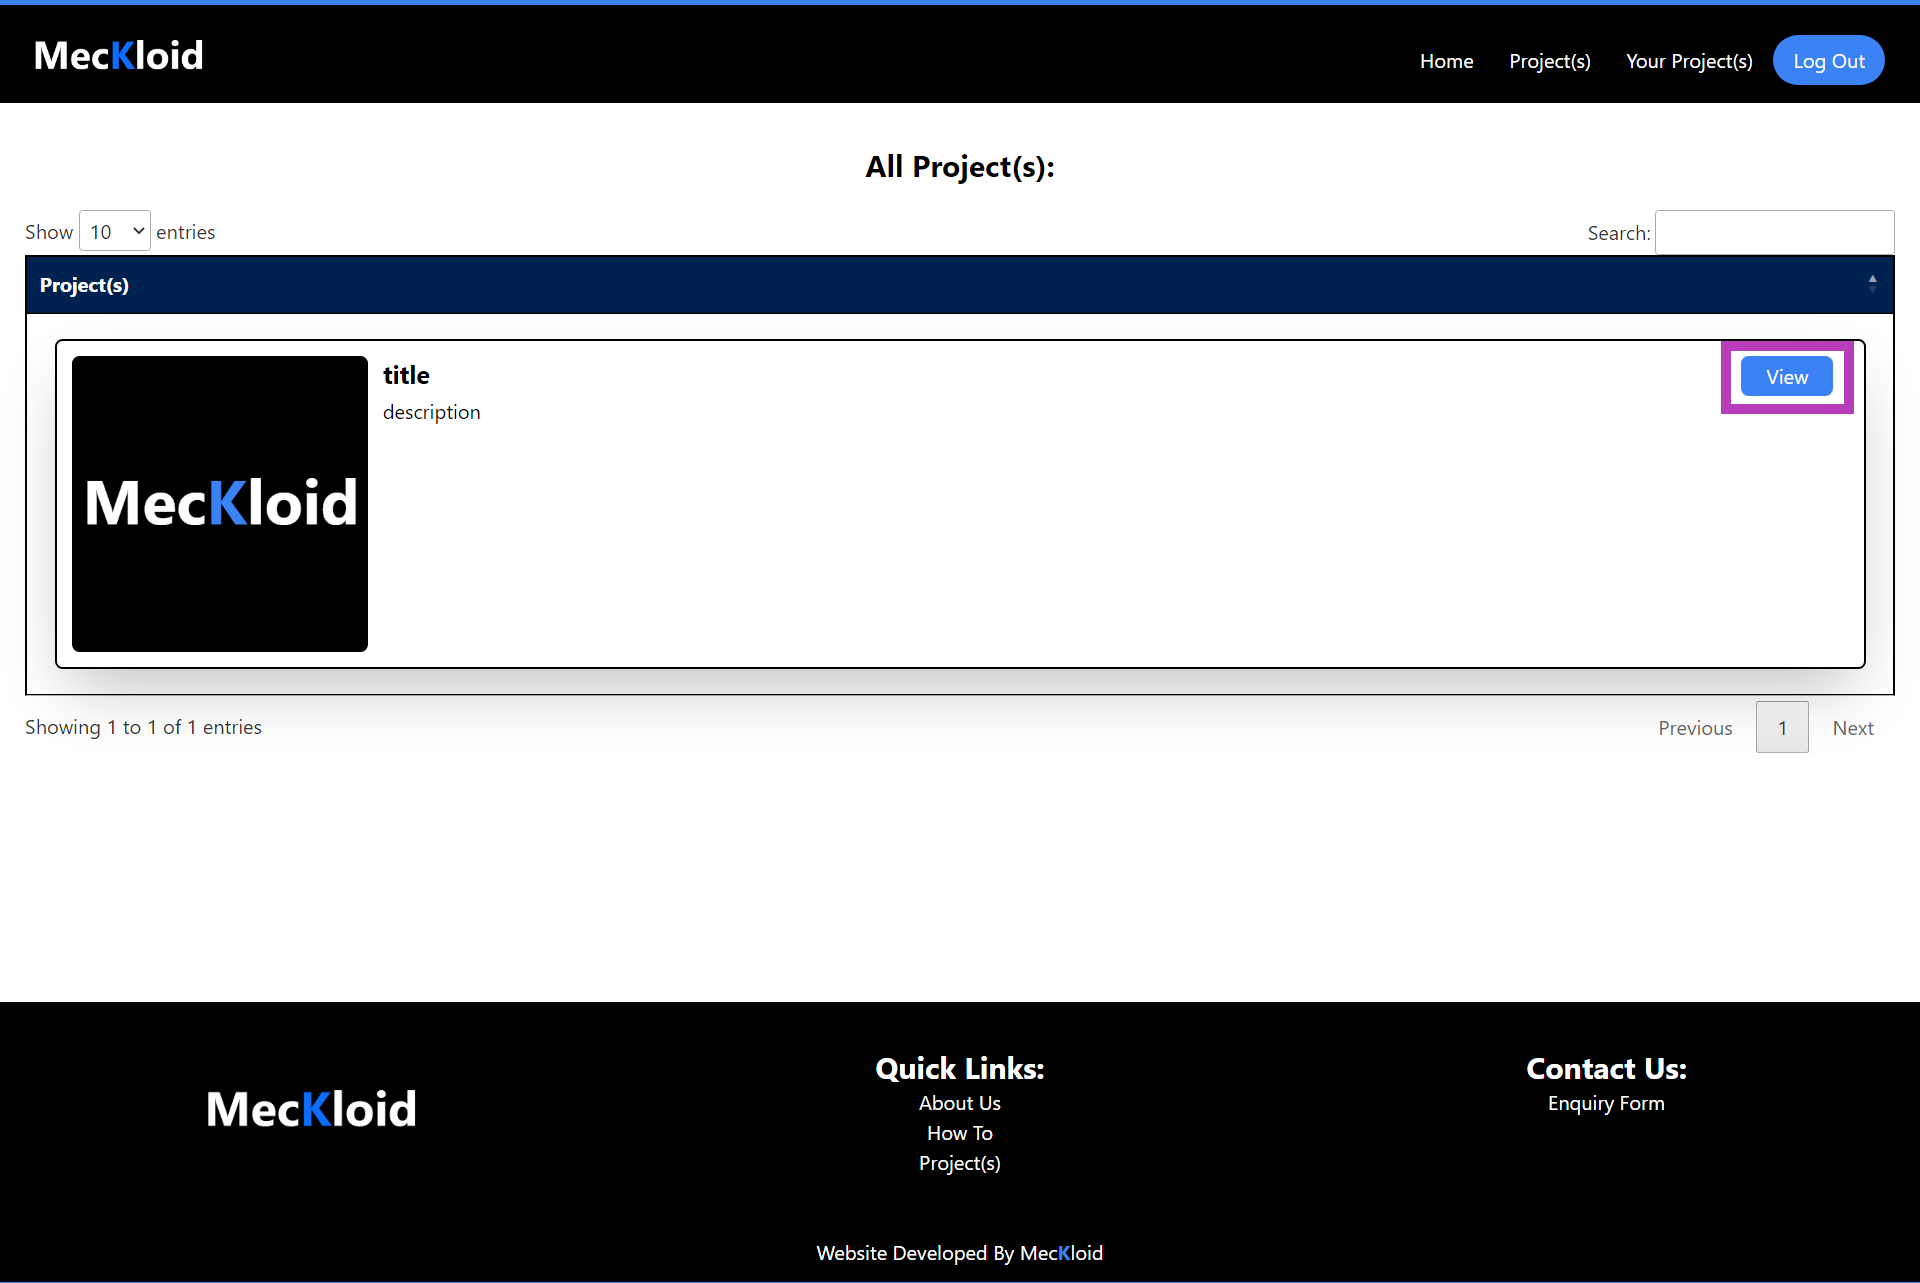
Projects Screen
Step 12:
- the publish button described in step 11 is transfored to hide button as shown below which can be used to make the project private. the project will not be visible in the project section once it is set to private.
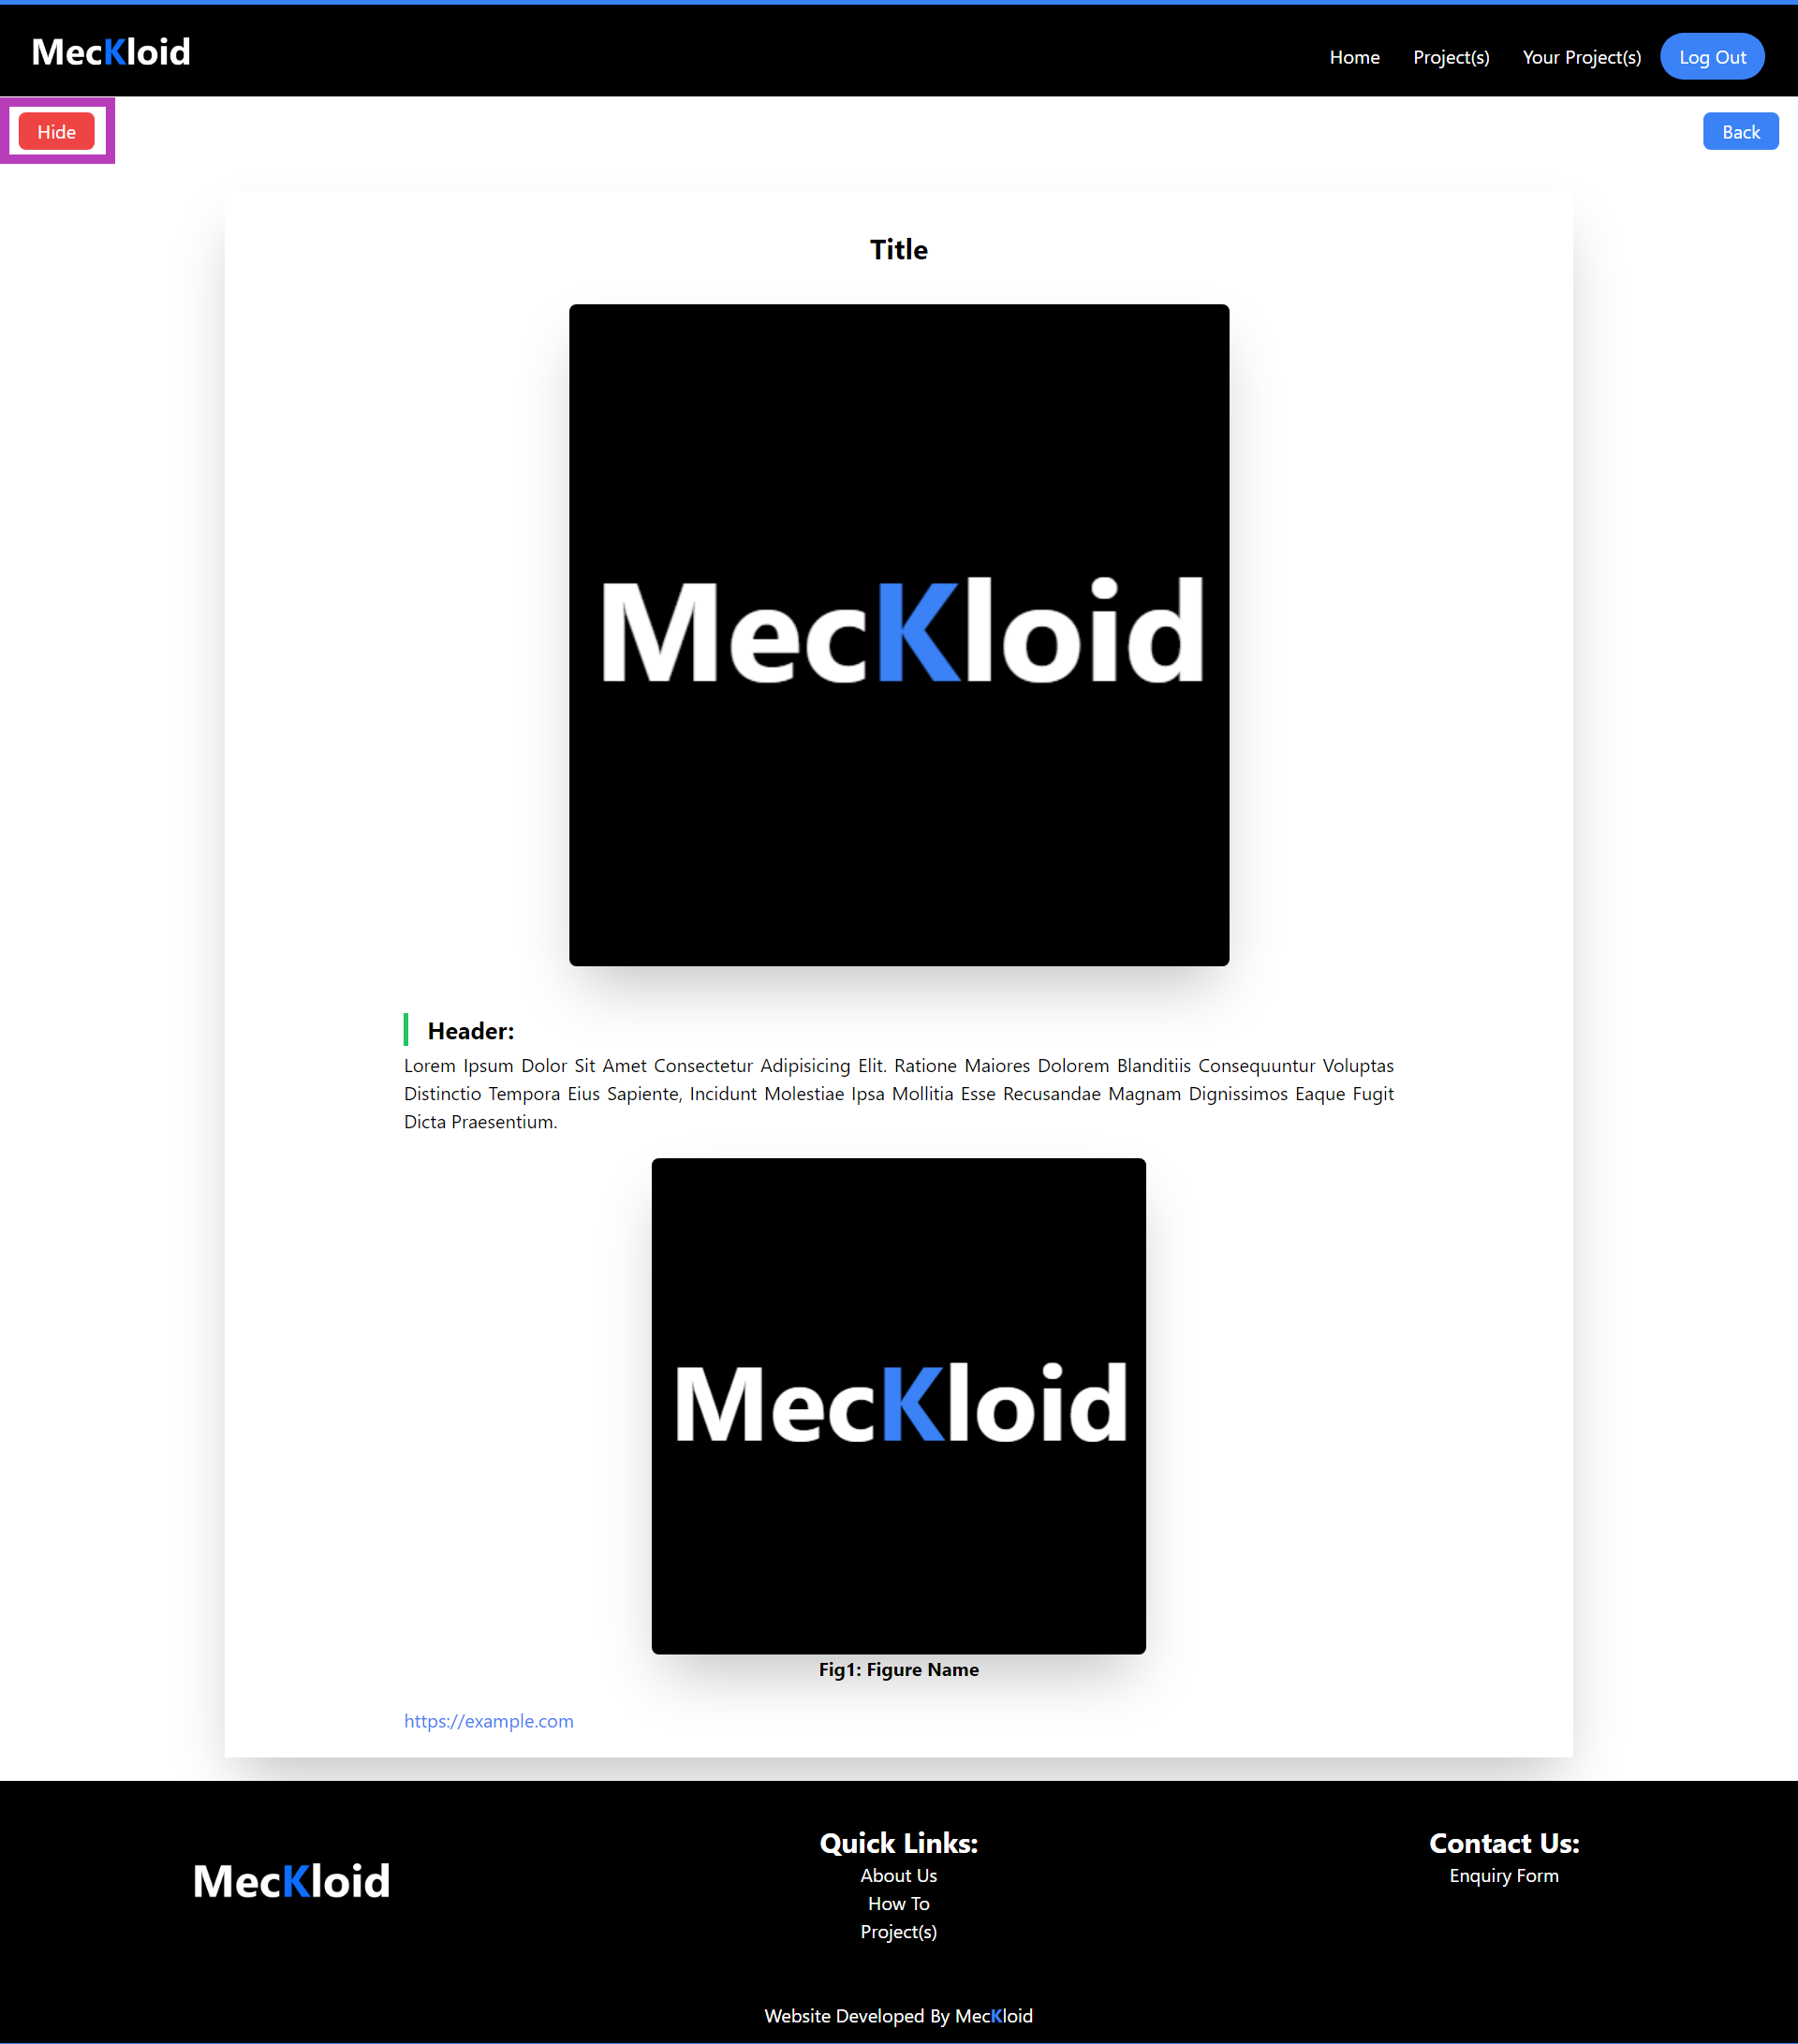
Hide Button
Step 13:
- when the project is public one may use the view button (shown in Step 11) to view the project data whenever required
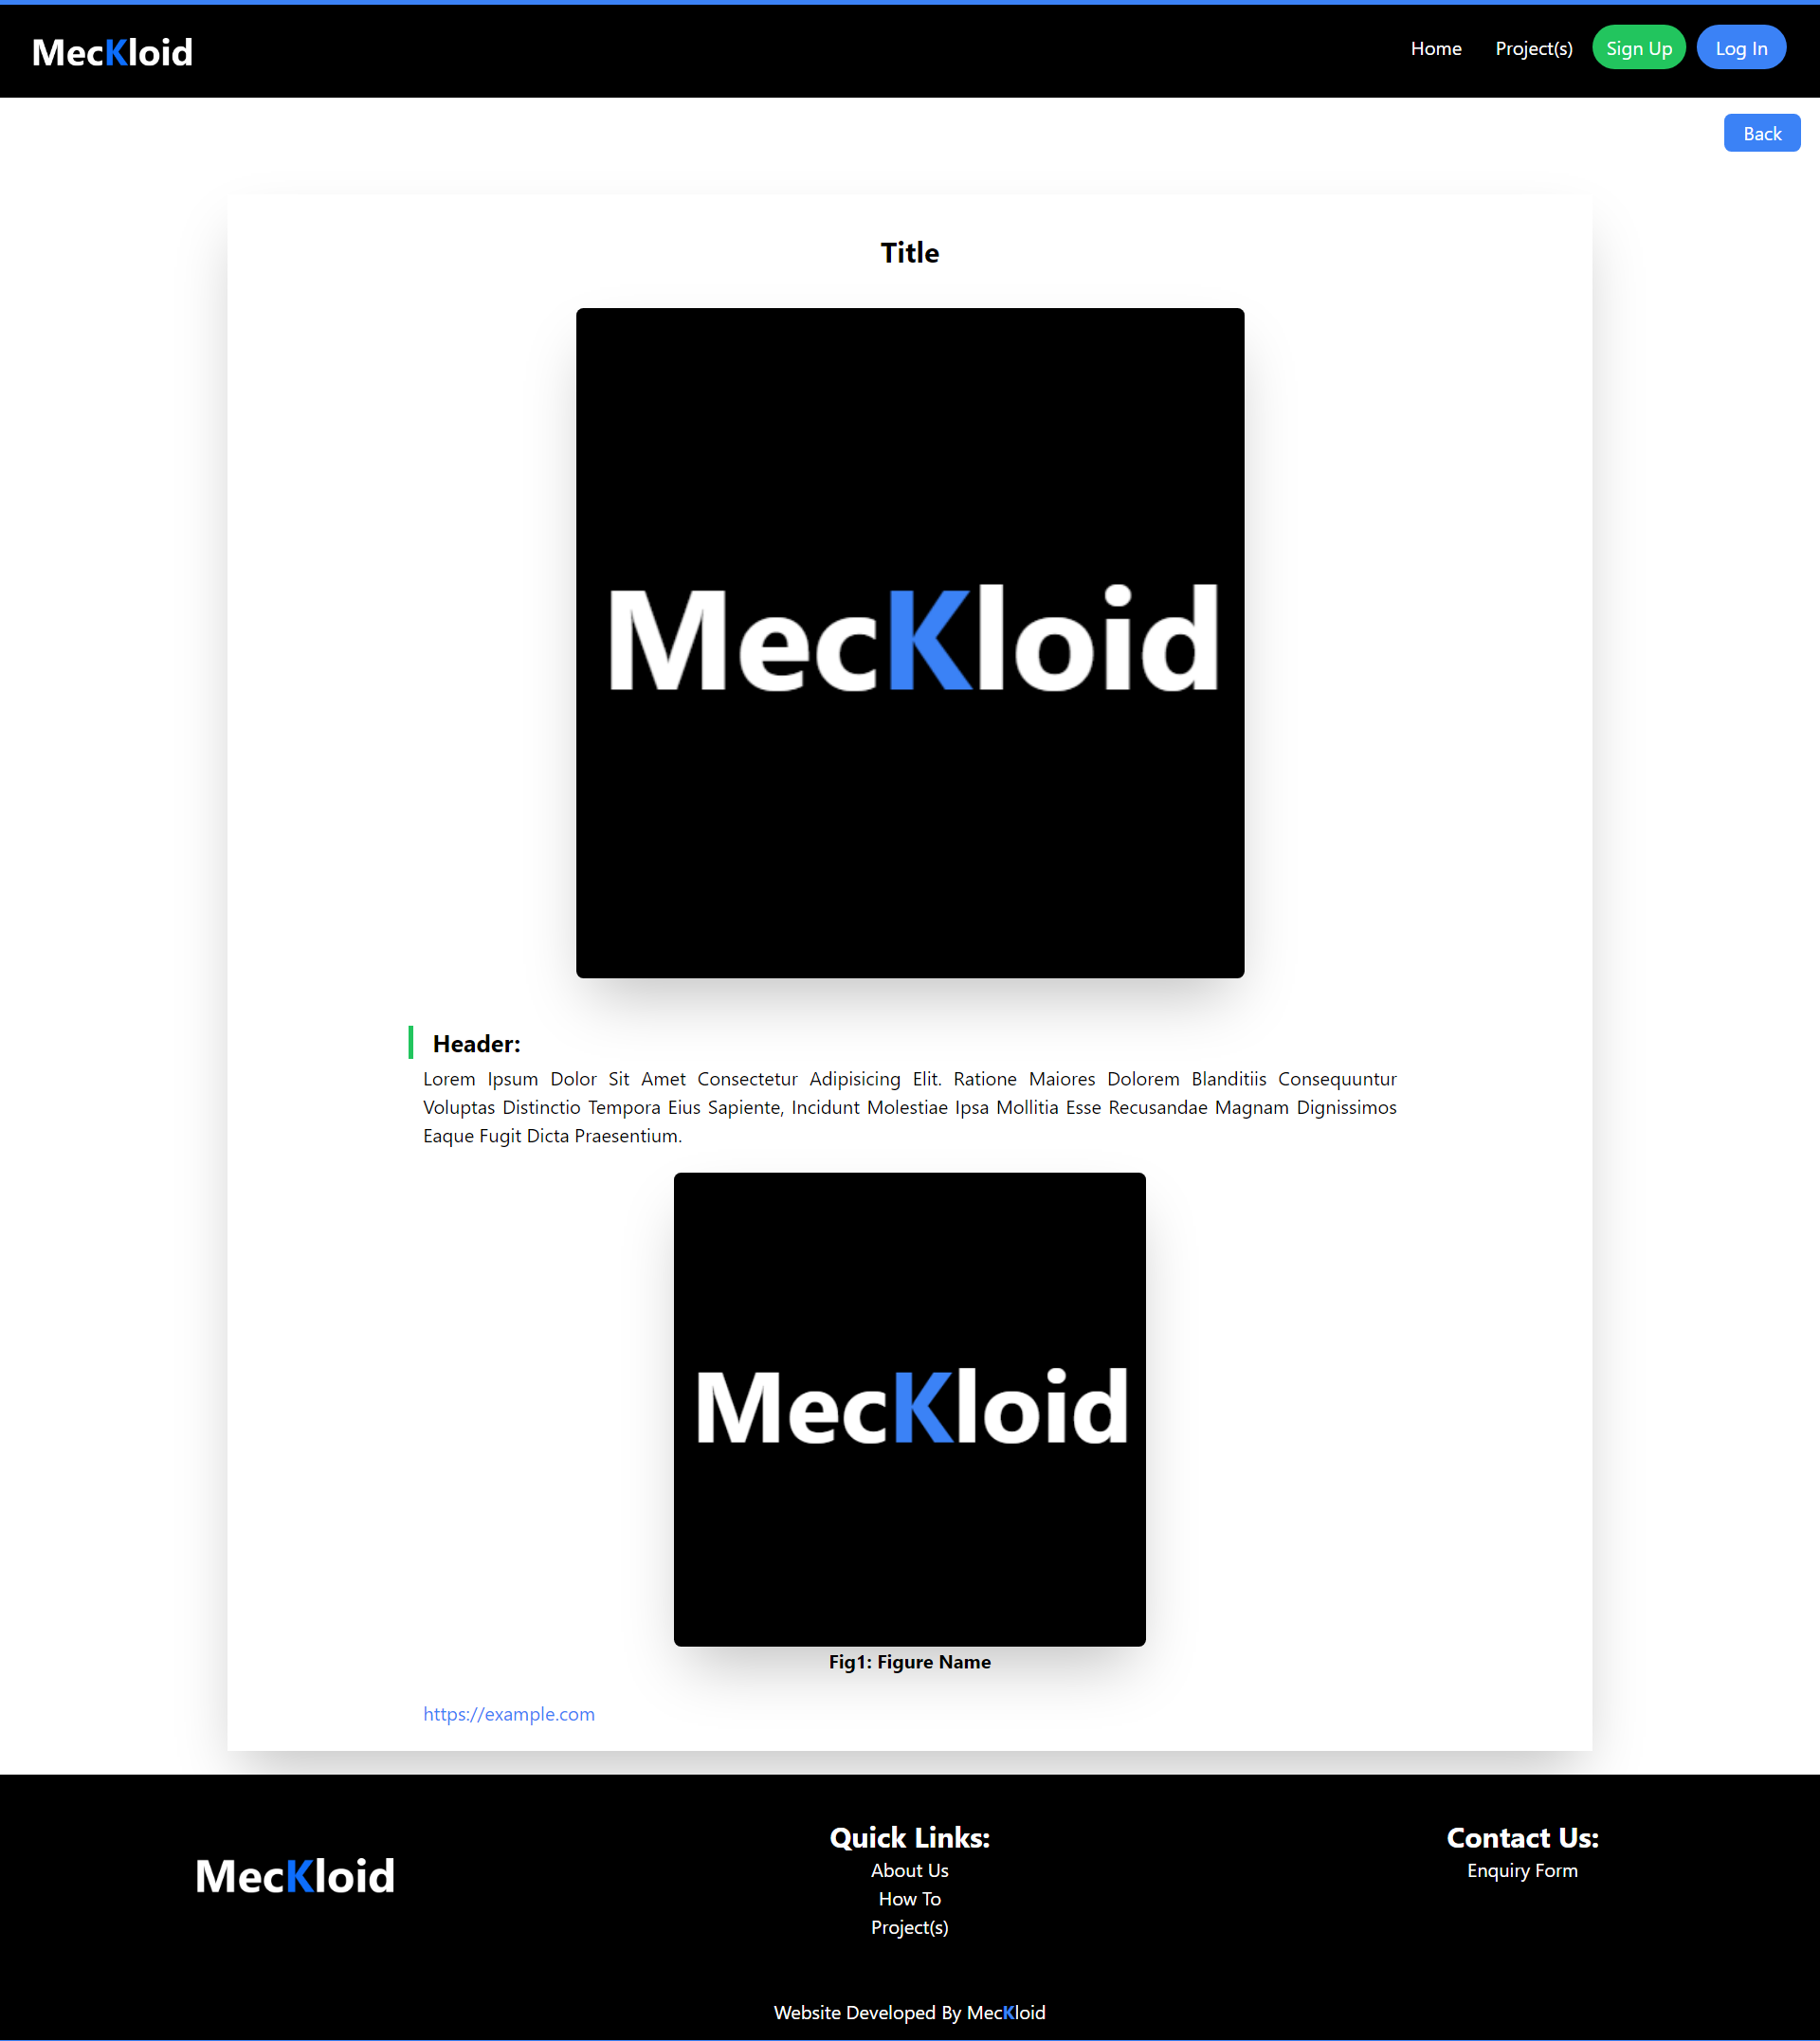
Project Data
Website Developed By MecKloid